
If you’ve been on any social media over the past year, you know about moss poles. They’re the perfect accessory for climbing and vining plants, and they look absolutely stunning once they’ve got some growth on them. Primarily used for plants like philodendrons and monsteras, moss poles can also be used for any plant that trails or just needs some extra support.
Moss poles mimic the plant’s natural habitat by providing plants with something to climb on. Tropical vining plants typically grow on the bark of trees and other plants, using them as ladders to climb up to the point where there’s more sunlight in the canopy layers of the rainforests.
You can find a huge variety of different types of moss poles. Some are made from dried, preserved sphagnum moss or sheet moss, while others consist entirely of coconut husk. Depending on whether you’re using a moss pole for support or aesthetics, the type of moss pole you might need can vary.
For example, coconut husk moss poles are perfect for climbing plants that don’t need tons of moisture available all the time. They work well for aesthetics, for supporting tall plants, and for encouraging plants that vine to climb. Dried moss poles, on the other hand, work wonders for plants that have large aerial roots which need moisture to grow bigger.
Some folks even DIY their own moss poles using wooden dowels and dried moss, along with some twine to keep everything in place. You can also use eco-friendly craft glue to help keep the moss on the pole before wrapping it in twine. While this is a fun hands-on method, it’s also just as great to use sustainably made moss poles purchased from a retailer.
Now that we’ve gone over a few basics, we can jump into installing moss poles in potted plants. While this process is best done before a plant grows to maturity, it’s never too late to implement a moss pole. Here’s how it’s done.
Installing a Moss Pole
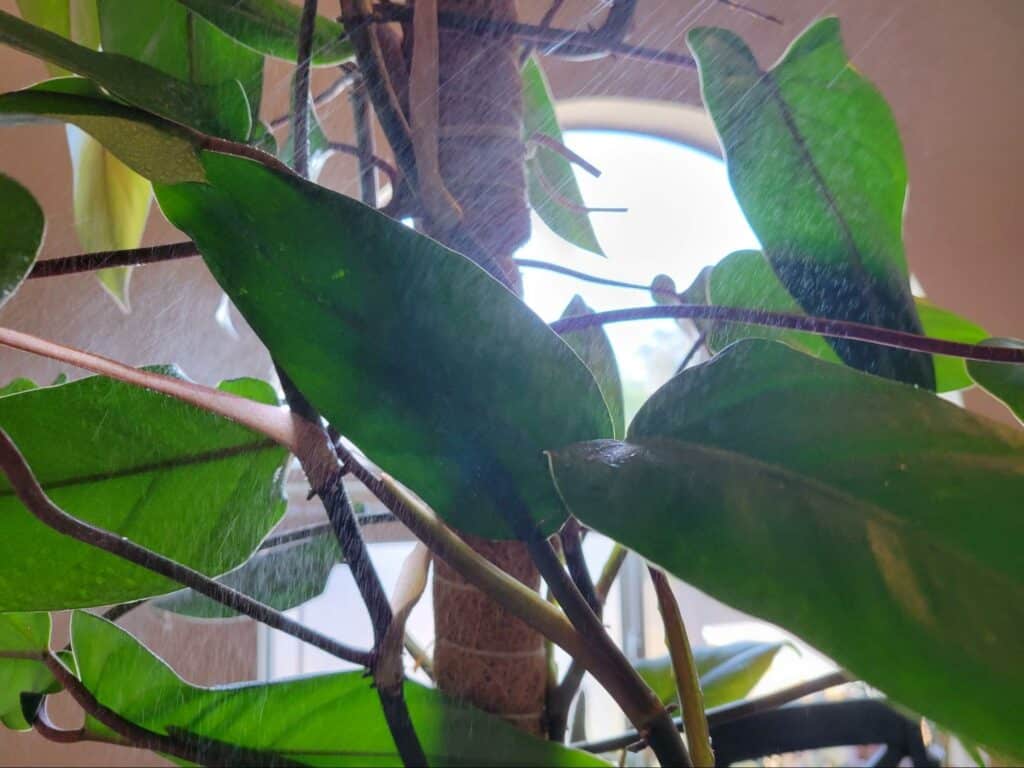
It might look intimidating, but securing your plant to a moss pole is surprisingly easy with a little patience and plenty of twist ties. We used a coconut husk moss pole and paper twist ties to install a moss pole for a philodendron red emerald that has become long and windy. This is our step-by-step guide to securing a mature plant with a moss pole!
Step 1: Untangle the vines.
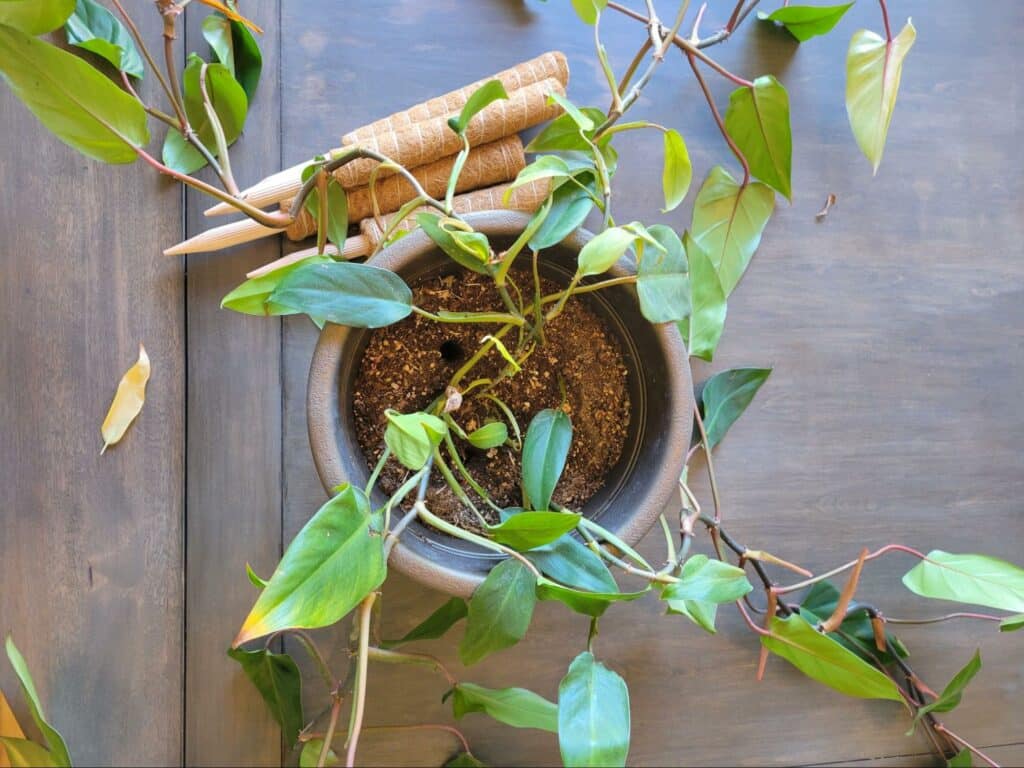
This first step takes some patience and skill, but once you’ve untangled them, they’ll be ready to go. Make sure that you very carefully separate each vine without snapping stems or pulling, which can cause leaves to fall away, leaving bare nodes. Lay each vine out in a different direction to avoid getting them tangled all over again.
Step 2: Find an unrooted area.
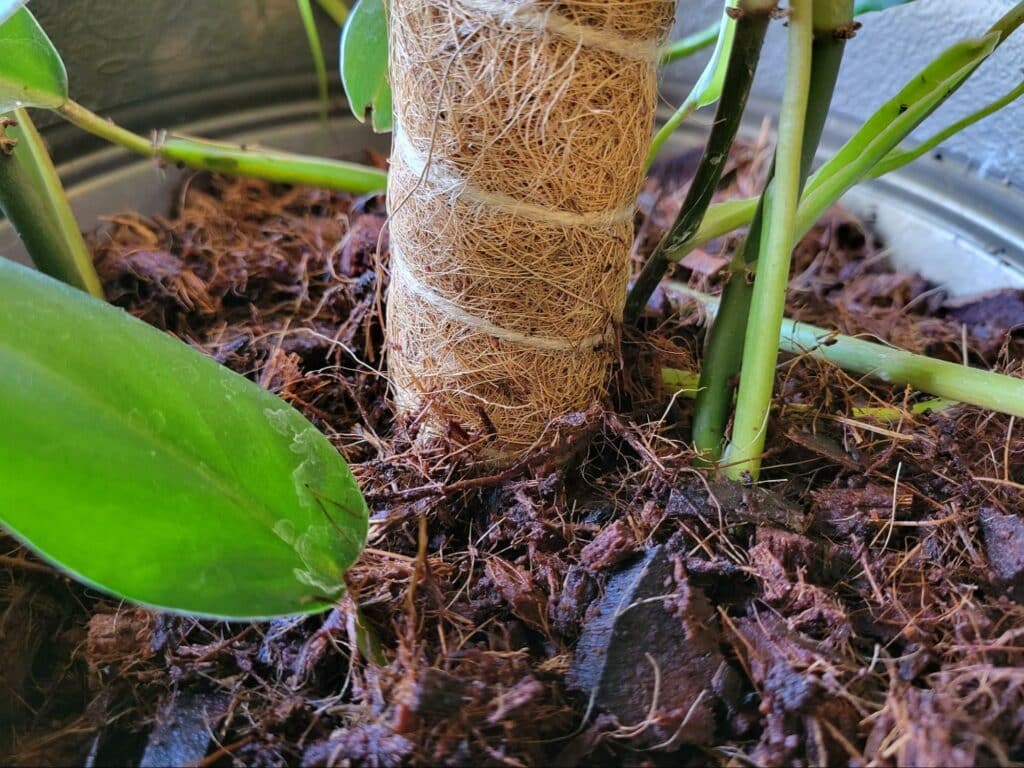
You can use a skewer or a pencil (or anything else you have on hand) for this step. Essentially, you’ll need to insert your moss pole into the soil where the least amount of roots is; if the plant is rootbound, repot it before you start placing your moss pole. The idea is to stake the moss pole where it’s damaging the least amount of roots, but don’t panic if you hit a few, so long as it’s not in the center of the root ball.
Our philodendron red emerald has been planted with four separate vines in this container, so we were able to stake our moss pole right between them. You can also repot to put the moss pole in first, then plant your vines around it however you’d like. The only important thing is to be sure that the base of the plant is fairly close to the base of the moss pole.
Step 3: Start staking
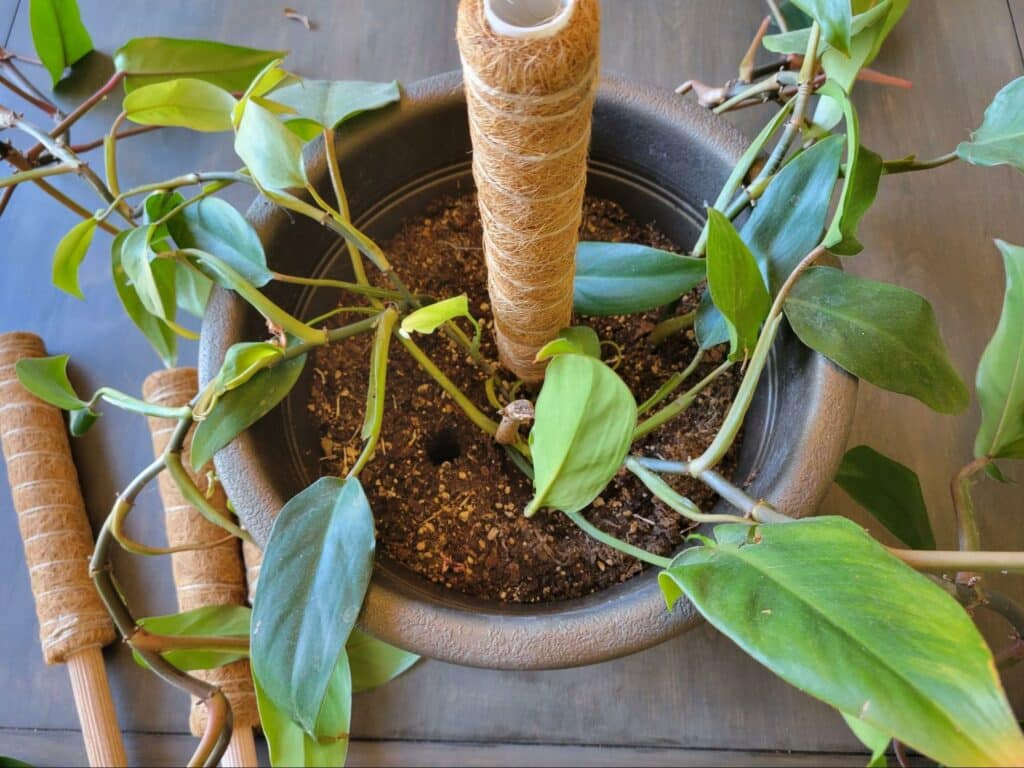
Once you find a secure place for your moss pole, stake it into the soil (one piece at a time if it’s a modular pole). It is crucial that you prevent the pole from falling over, so make sure that it’s secure by packing soil up against the base or using a few medium-sized rocks to build a sturdy base.
Deeper containers are better for this application since they generally have some depth to allow the moss pole to be buried up to the section where the moss starts. A pole buried two inches deep isn’t going to stand up on its own, but one planted eight to ten inches deep will likely stand up without toppling over the moment you move the pot.
Step 4: Secure the vines
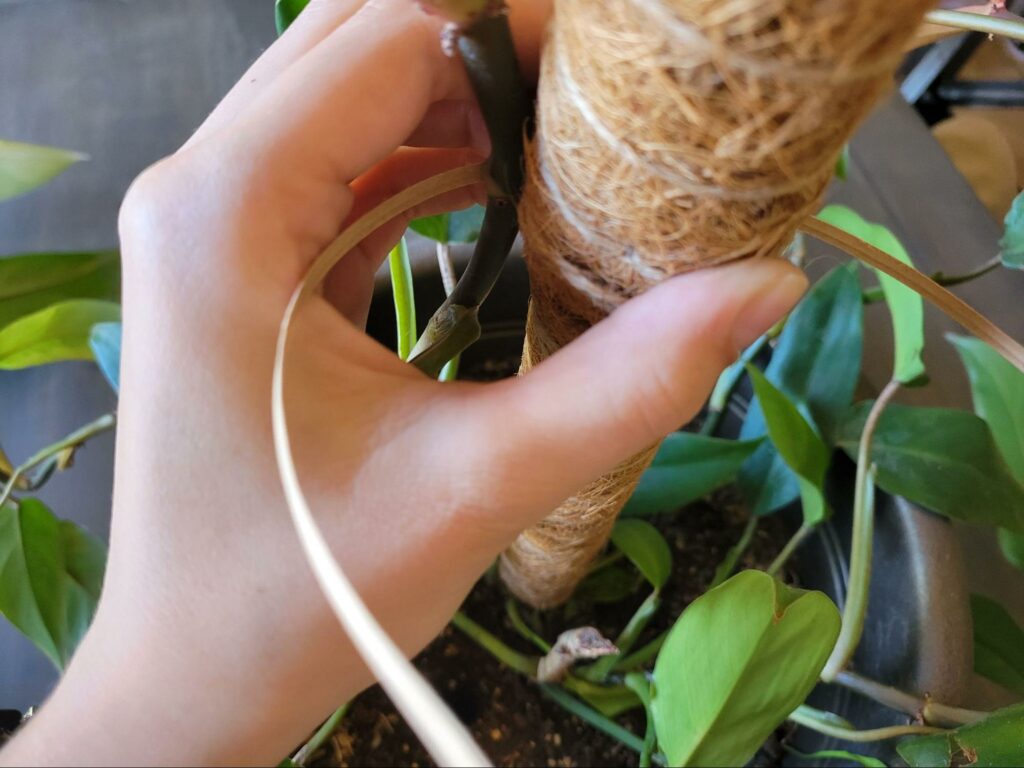
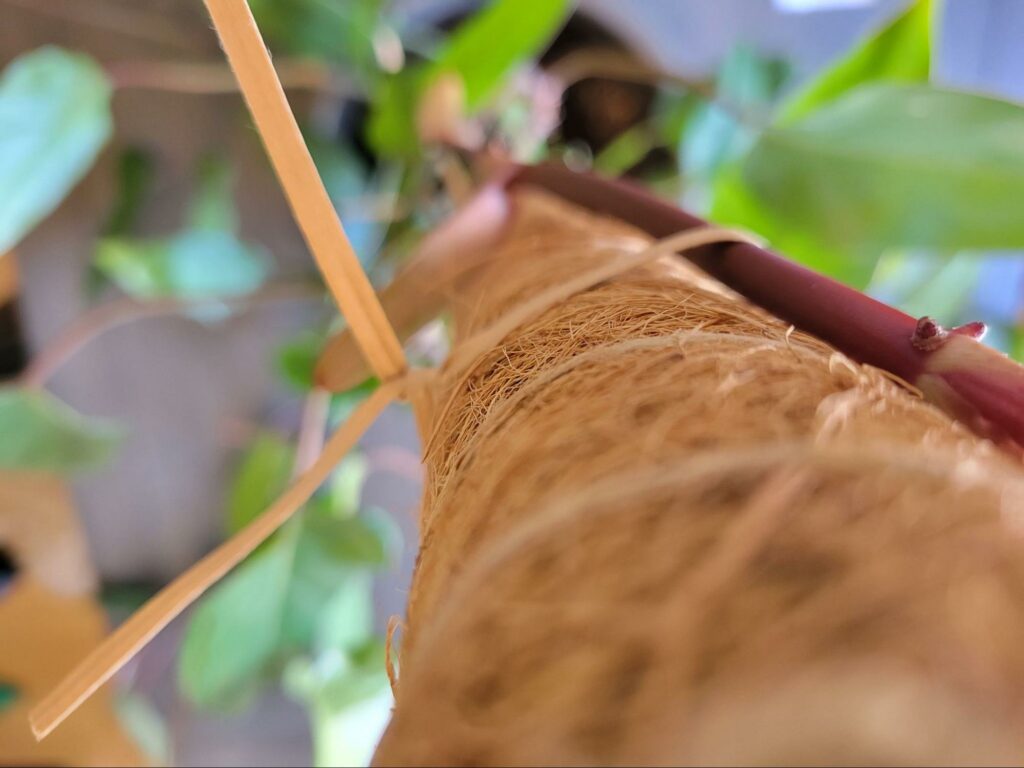
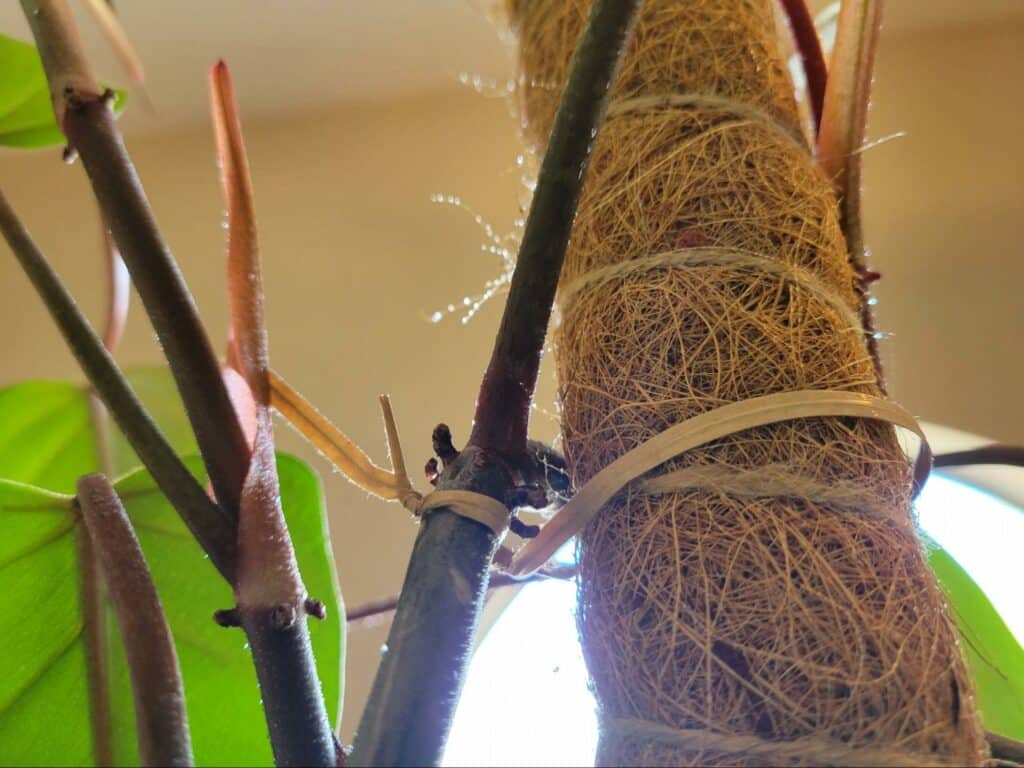
Using your twist ties, velcro, or twine, begin to secure the vines to the moss pole by attaching nodes right up against the pole (as the vine’s shapes allow). Don’t try to force the vines to sit a certain way if it requires extra pressure; they can snap fairly easily under duress. Instead, travel up to the next cooperative node, stretching the vine as far it will naturally allow and secure at that point.
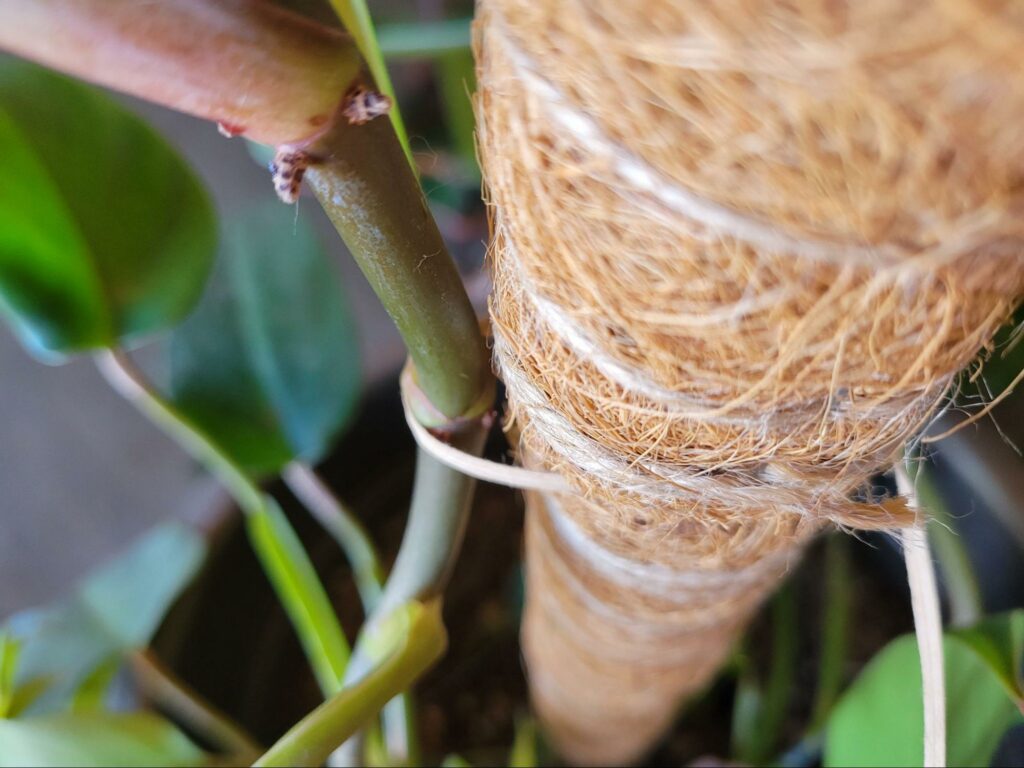
Use your hand to feed the twist ties or twine through so that you can hold it on both sides at once before securing it. Don’t attach them too tightly; leave a tiny bit of space between the vine and the pole for air and moisture to get through. As you secure the vines, leave some extra length at the ends of your tying materials to secure vines on the other side of the pole. This way, you’re using less material and leaving the pole looking less cluttered.
Work with only one vine at a time so the others aren’t left drooping over. You can try to stick to one side of the pole with each vine, but the natural shape of the vines will likely vary from time to time. It’s okay if you have to overlap some petioles here and there since we’ll go through and sort that out later.
For non-vining plants like fiddle leaf figs, you can choose at which points to secure the tree. Simply use your twist ties to attach the trunk to the moss pole once every eight to twelve inches, once again leaving a little bit of space between the trunk and the pole to allow the tree to move about and grow.
Once you’ve got the hang of securing the vines, finish attaching them all the way to their tops. If your vines are longer than the moss pole, you can either choose to leave them or lop them off with a pair of clean shears to make cuttings. Trees won’t need to be trimmed to the height of the pole, but climbing plants will likely need some routine pruning to keep them on the pole.
Step 5: Untangle the leaves
If you’ve overlapped some leaves here and there, take the time to go through and untuck leaves that have been stuck underneath other stems or petioles. Not only will the whole setup look better, but the plant won’t have to spend as much time trying to rearrange its leaves to catch the most rays.
It’s also a good time to go through and remove any debris, like loose moss or yellowing leaves, now that they’re easy to see. Be sure to only use sharp, clean shears to prevent any pests or infections from infiltrating open wounds. Don’t worry if it looks a little wonky now; the leaves will naturally change directions to point away from the moss pole over the next week or two.
Step 6: Add pole extensions as necessary
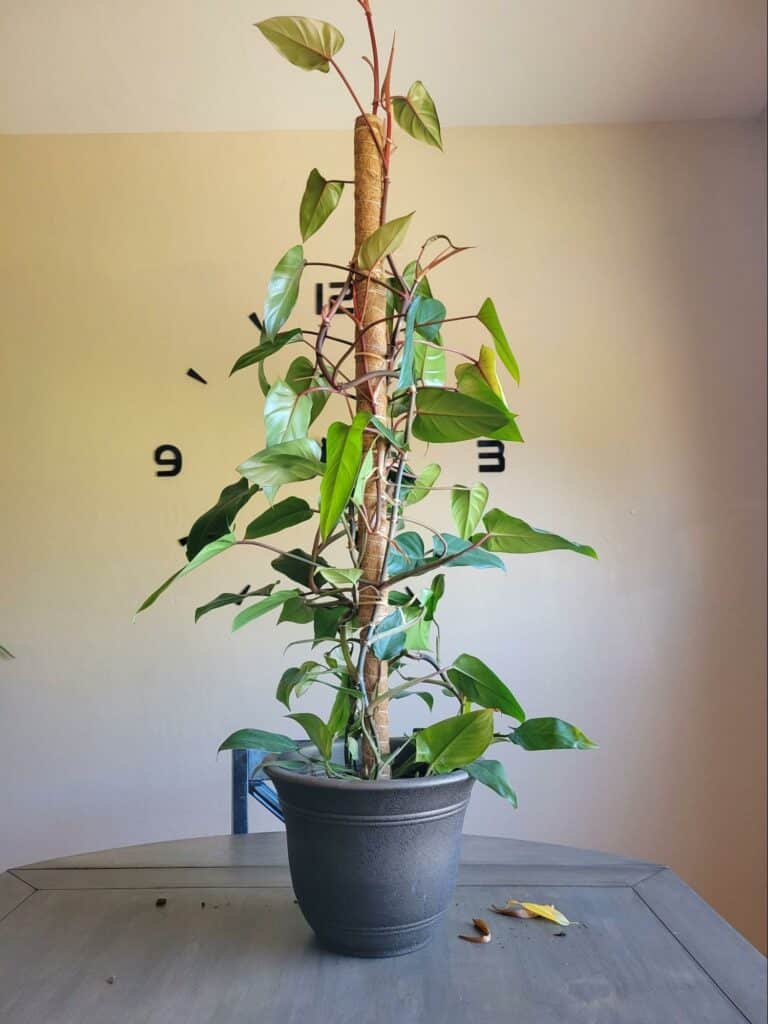
As you can see, our plant is already a bit taller than the 52” moss pole we installed. And that’s okay. As the top of the plant grows, we can choose to either add more extensions to the moss pole (we opted for the sectional kind) or remove the new growth at the top of the pole to make new cuttings, because everyone needs more plants.
Caring For Plants on Moss Poles
In this section we cover everything you need to know about caring for houseplants that are on moss poles.
Watering
Watering a plant on a moss pole looks a lot like watering a plant without one. However, if you opted for the type of moss pole that needs to be top-watered, such as those filled with dried moss, then you’ll need to stay on top of watering.
Top-watered moss poles can dry out fairly quickly, so it’s important to watch them to make sure they don’t dry out completely, which can make them hydrophobic and therefore more difficult to re-saturate. However, always let the pot drain of excess water to prevent root rot. You can also rely more on humidity than water to keep the moss from drying out, which is a better option if your plant is particularly susceptible to root rot,
Humidity
Speaking of humidity, plants that vine or climb generally do much better with higher humidity. That being said, trees or plants that don’t necessarily attach to the moss pole won’t need a constant stream of mist. Plants with aerial roots are the neediest when it comes to humidity, and that’s because they’re used to having access to it constantly in the wild.
Opt for at least 40% humidity around the plant, and be sure to mist the moss pole every other day or so to keep it moist. You can also place a humidifier nearby so that the cool mist reaches the moss and is able to soak in fully. This will encourage aerial root growth and make your plant stronger, allowing it to attach itself to the pole.
Light
The way to larger leaves on a moss pole is bright, indirect light. Any climbing or vining plant, whether it grows aerial roots or not, will require this level of light unless it’s a shade-dwelling plant. Most tropical vining plants will need this type of light, but you should never place a plant in direct sunlight; this will cause crisp, brown leaf spots that are both unappealing and impossible to reverse without pruning.
Fertilizing
You can fertilize your moss pole plant just the same as you would normally, but there’s another option: using a water-soluble spray fertilizer to fertilize the moss pole. Some fertilizers intended for aerial plants come this way, but make sure to fertilize the roots of the plant from time to time, as well using a half-strength water-soluble fertilizer.
Tips & Tricks
To keep your plant looking its best on its new moss pole, watch out for pests and diseases that might infiltrate it. Powdery mildew is common among aerial roots, which can be remedied with a weak solution of hydrogen peroxide and water.
Avoid moving your plant around too much, which can cause the moss pole to topple if it’s not very sturdy. If the moss pole moves around too much or falls over, it can cause your plant’s stems to break. You can use some support stakes around the outside of the pot to tie to the moss pole for extra support if need be.
