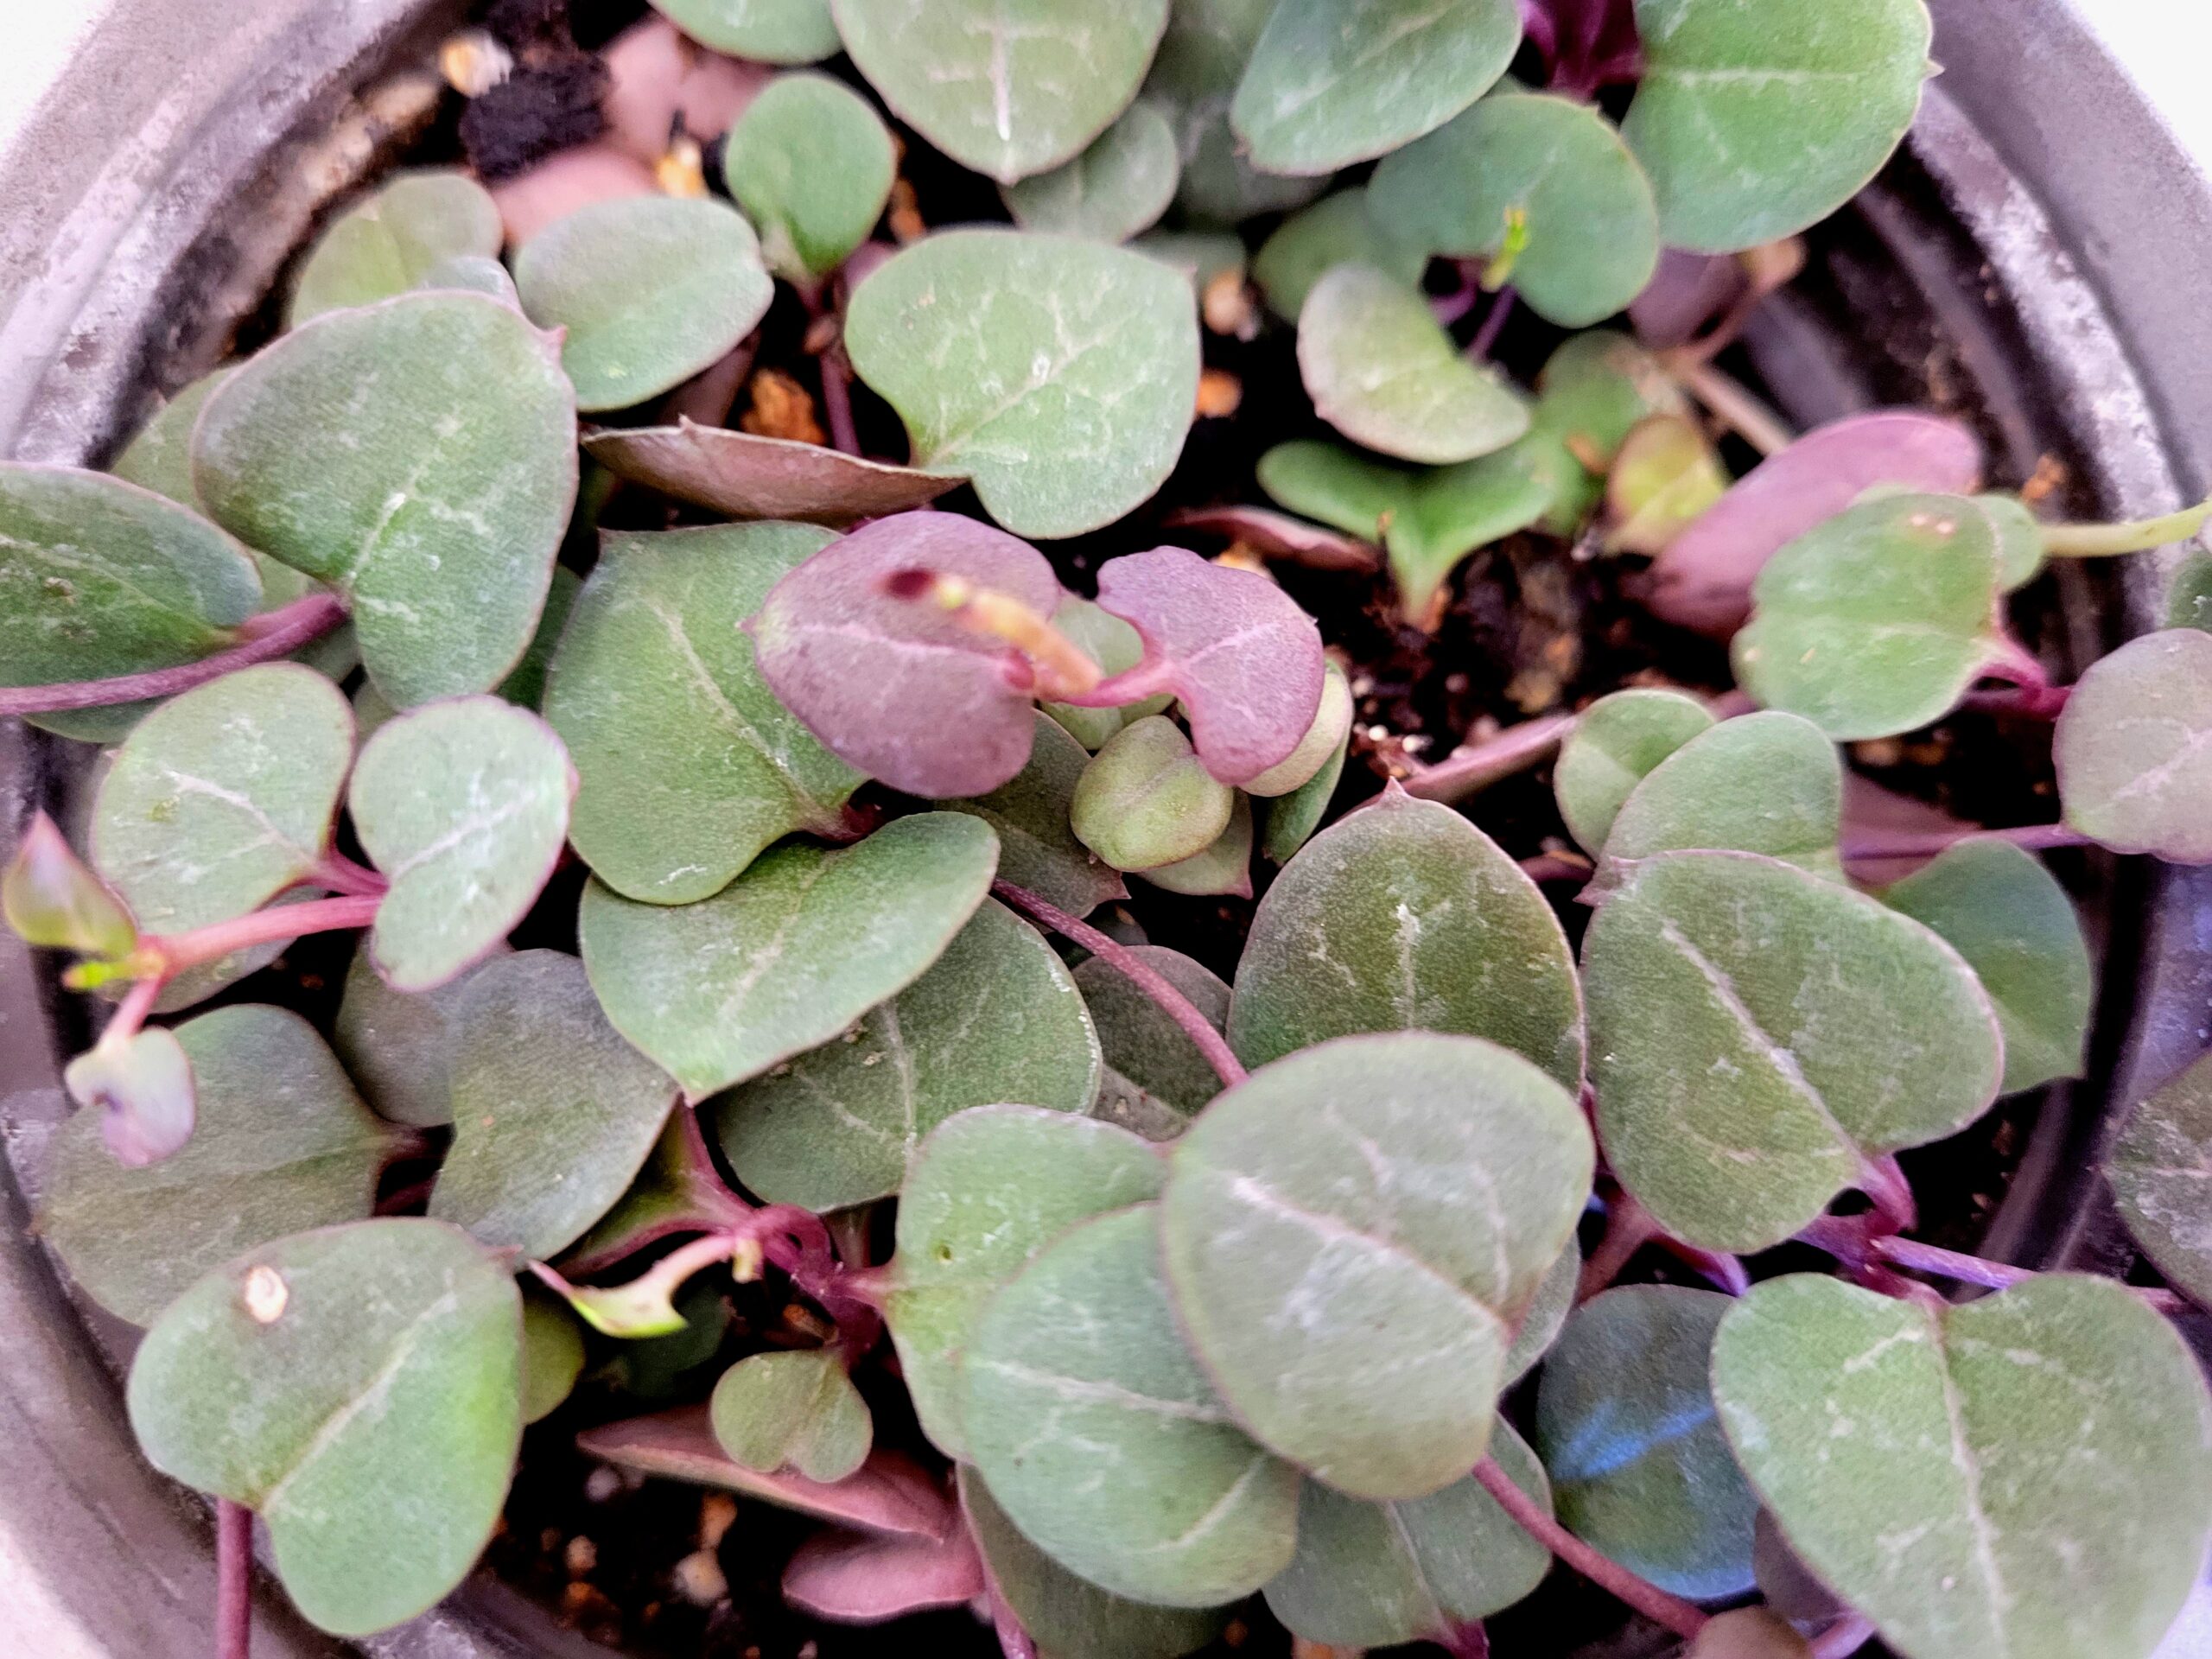
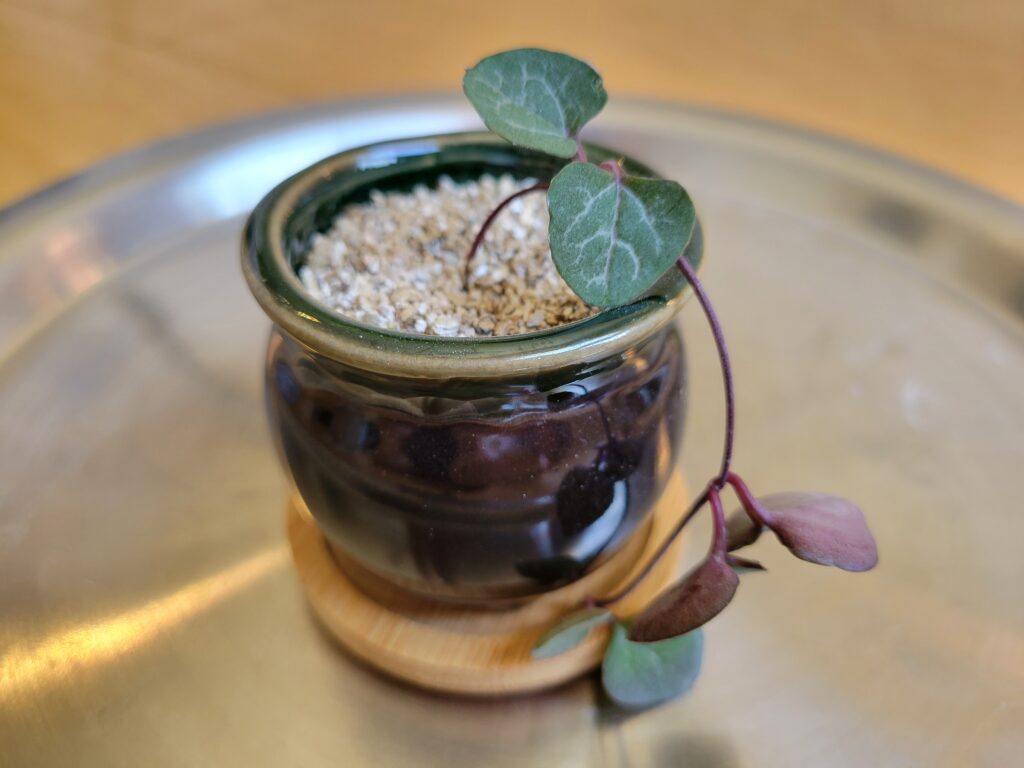
String of hearts is one of the most widely-adored succulents on the market these days. It trails beautifully and adds some whimsy and an eclectic touch to any space. Its name is pretty revealing; the leaves of this succulent are shaped like hearts, strung along thin purple or green vines.
The colors of string of hearts can vary between greens, whites and pinks. Not only do they come in these colors, but they can also be found in variegate species and bicolors, as well. There are currently only two cultivars, but these are highly varied in color, form and growth patterns due to hybridization.
History & Culture of String of Hearts
The first string of hearts recognized by the late 1800s was the beginning of the plant’s future as a houseplant in many homes, conservatories and offices around the world. Of course, we can see why. The gray-on-green patterns that string of hearts offers is both interesting and beautiful.
This plant is commonly grown both indoors in cooler climates and outdoors in warmer ones. String of hearts may have gone off the radar in the late 1900s, but it did make its big comeback debut with the rise of online plant blogs and photo collectives.
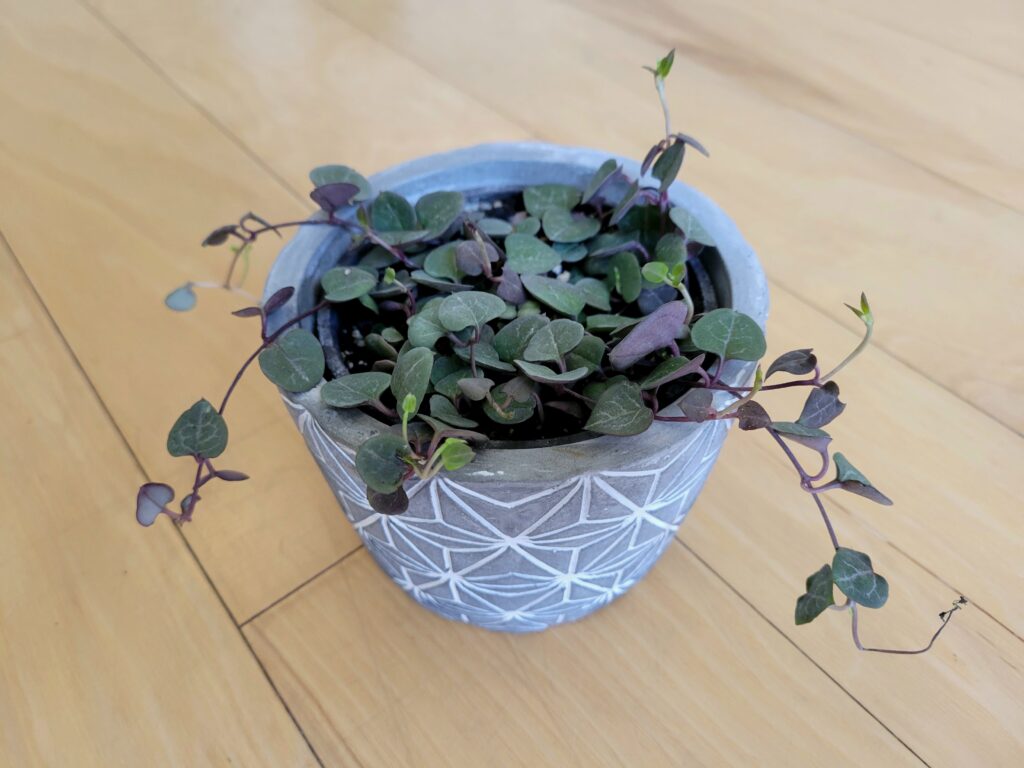
Today, string of hearts is valued for its aesthetic beauty and trailing appeal. It’s a plant that can be grown from a hanging basket for dramatic effect, or in a tabletop pot for a little extra decor. Modern interior design has taken a keen interest in this plant for the same reasons.
Tools for Propagating String of Hearts
Not only is this plant a go-to choice for anyone interested in some low-key classy vines, it’s also extremely easy to propagate with the right tools and a little effort. Regardless of its negative stigma that string of hearts is hard to grow, you’ll find that it just takes the right balance to get these guys to propagate and flourish.
Plant shears
The number one tool that you’ll need to get things going for propagation is plant shears. They should be sharp, clean, and capable of cutting through plant tissue easily without mangling the stems. If you don’t have a pair like this, there are other options, too.
Instead of using plant shears, you could also substitute for a razor blade, sharp kitchen scissors, or even a well-kept pocket knife. No matter what you’re using, you should be able to make one swift cut without any complications.
Rooting hormone
The staple of all propagation projects, and the fallback for beginners, rooting hormone is where it’s at as far as rooting new cuttings successfully. Of course, using rooting hormone isn’t a gold-seal guarantee that your cuttings will root, but it helps out in many ways.
Without roots, plants can’t get the nutrients they need. In order for them to survive being severed from the original plant, cuttings will need to grow roots as quickly as possible. This stuff speeds up that process and gives cuttings a better chance at success.
Plant labels
Whether or not you have lots of plants (let’s be honest, you’re getting there if you don’t already), it’s a good idea to label them so that you know exactly which species you have. This is especially helpful if you propagate lots of plants, as they can be hard to identify as cuttings.
Plant labels are also great for collecting information about each individual plant. You can jot down the propagation date, planting and repotting dates, and even information about fertilization. They’re nice to have to help keep your plants organized.
Water vase or jar
For water propagation, you’ll need something that holds water and can stay in use for a few weeks. It should be either short enough to accommodate a short vine hanging over the side, or at least narrow enough that leaves can still sit comfortably out of the water.
Best practices are to use clear or green translucent glass, which can be cleaned and sanitized easily. Make sure you use something that’s easy to get inside to clean with a brush or sponge. Craft jars are great for this purpose, but you can also use a propagation station.
Soil & pots
No matter what type of propagation you’ll be doing, you’ll end up needing pots and soil at some point in the process. It’s best to use smaller pots for string of hearts propagation, as the soil won’t stay waterlogged for long and will allow the cuttings to breathe.
Soil should be a good mixture for seedlings, since we’re starting with unrooted plants. It should have some mixture of perlite, coco husk, and peat, along with whatever other constituents are in it like nitrile pellets. As long as it holds water and drains well, it’ll work!
Rubbing alcohol & soap
A happy cutting is a healthy cutting. A big part of the health of a cutting is having a clean environment to root and grow in, so maintaining clean tools and pots is a must to help improve the success of your propagation project.
Remember to only use rubbing alcohol on tools and only warm, soapy water on pots and plant surfaces. Unscented soap is best, but anything you have laying around that’s environmentally friendly should do the trick. Castille soap may smell odd, but it’s really the best in this scenario.
Types of String of Hearts Propagation
There are two simple ways to propagate your string of hearts at home, and both of them are relatively simple. However, cuttings need a lot more care and attention than mature plants do, so if you decide to propagate your string of hearts, be prepared to spend a little more time with them.
In this guide we will cover:
- Water propagation
- Soil propagation
Water Propagation Method
Perhaps the simplest way to propagate a vining plant, water propagation yields great results with string of hearts. Not only does it allow you to view the progress of the root growth, but it also gives you the opportunity to keep your cuttings healthier and to notice when there’s an issue.
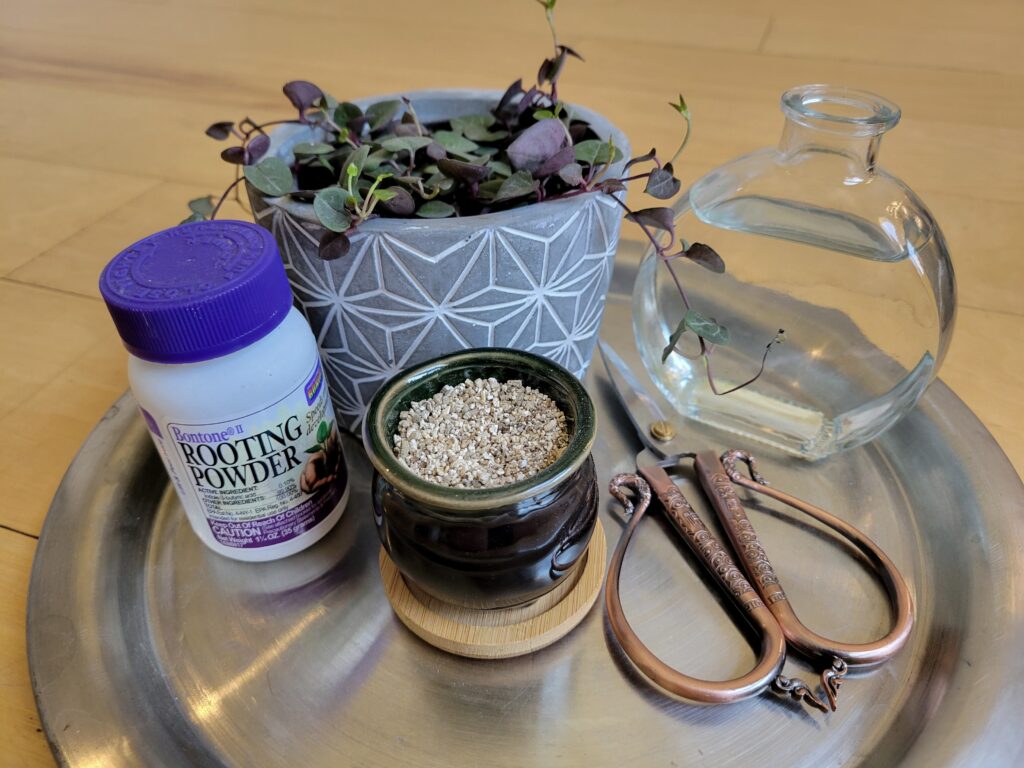
Step 1: Gather your materials
Before you get started, it’s a good idea to have all your supplies in one place. This way, when it comes time to get down to business, you’re not chasing down your rooting hormone!
It’s also a good time to get everything nice and clean. Use rubbing alcohol to clean your shears or blade, and warm, soapy water to clean the water container you plan to use, then rinse it well. Make sure you dry everything completely before using.
Step 2: Plan your cuts
Instead of whacking blindly at your string of pearls, try to plan out which vines you want to take for cuttings. They should be healthy, with no wilting or dying leaves, and should have a nice, even color throughout.
Try not to take too many cuttings at once, unless your string of hearts needs a serious prune. For bigger plants, this won’t be an issue; but, for smaller ones that are just maturing, avoid taking more than 20% of the total mass of the vines.
Step 3: Take the cuttings
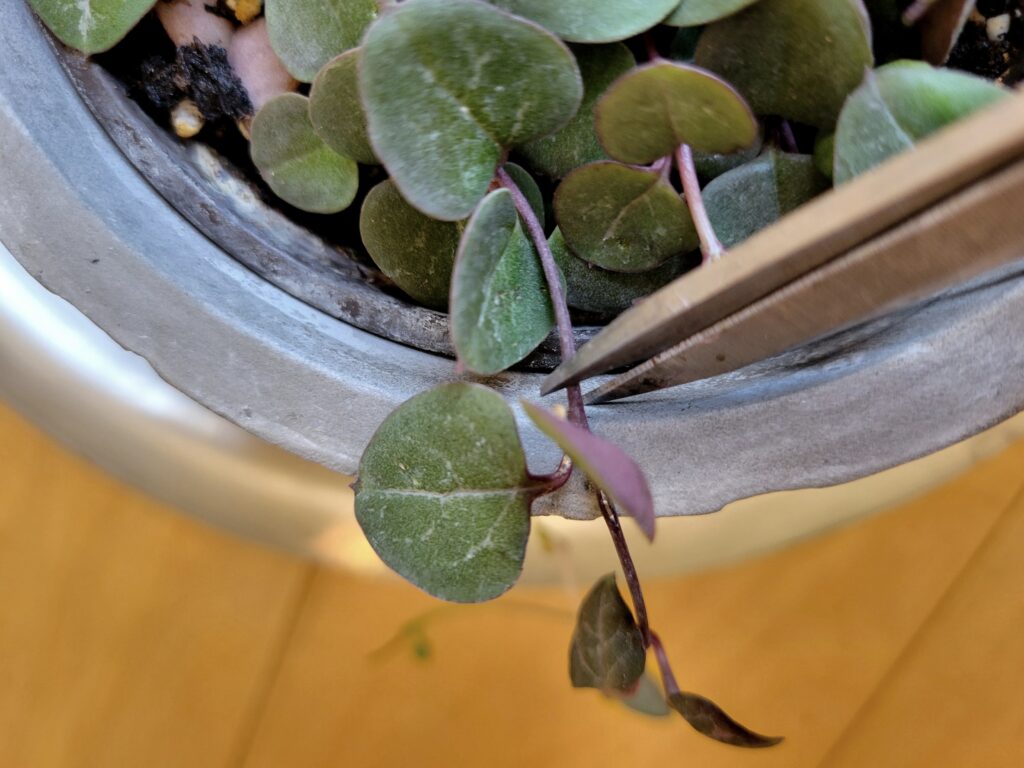
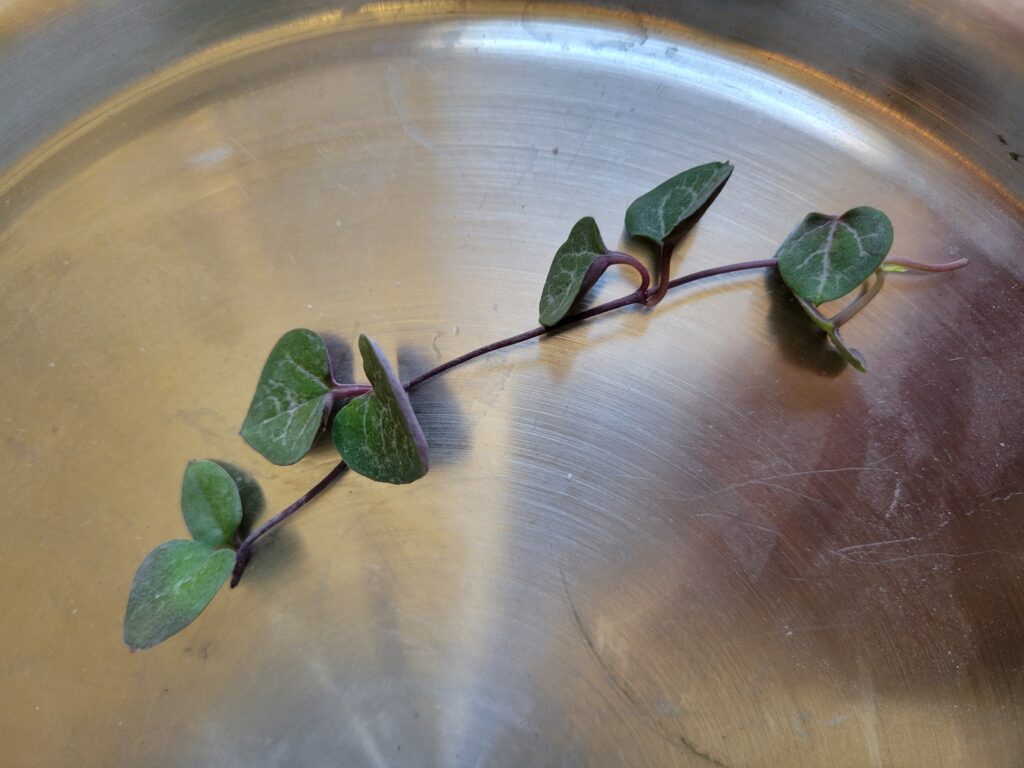
Now that you have a good idea of which vines you’ll be cutting, use your shears to pinpoint a spot just below a node about an inch away from where you want the remaining leaves to stop. Make one swift cut in each place you choose.
It’s important not to start with very long cuttings, because cuttings without roots can’t support a large mass of leaves and stem. Shoot for no longer than six inch cuttings that are at least three inches in length, and you’ll be good to go. Remove the leaves of the last inch of the cutting.
Step 4: Rooting hormone
Once you have all the cuttings you plan to propagate, it’s time to treat them. Gently dip each cut end of the cuttings about one centimeter into your rooting hormone, whether it be powder, which is instant, or liquid. If you use liquid hormone, simply follow the instructions on the container.
Rooting hormone should be allowed to sit for a few seconds before putting the cuttings into water. This allows the cuttings to begin absorbing the hormone before it’s diluted. It doesn’t need to be perfect; a quick pause is just fine!
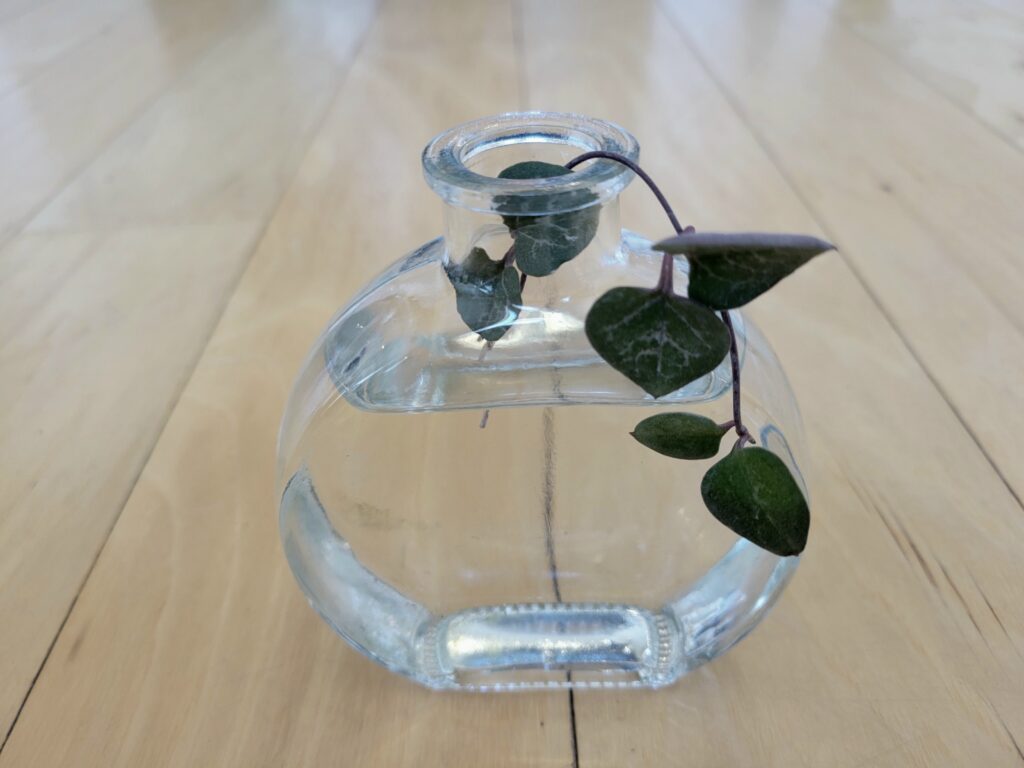
Step 5: Into the water
After all your cuttings have been dipped into the rooting hormone, you can begin placing them carefully into containers of fresh, clean water. They should be arranged in such a way that allows the stems to sit submerged in water, but with no leaves submerged or touching the water.
The reasoning behind this setup is because while the cuttings need to grow roots, allowing any foliage to sit in the water for long periods of time can cause rot, which will infect the rest of the cutting if allowed to sit undisturbed.
Step 6: Maintain water
Over the next six weeks, check for signs of rooting or new shoots growing from your cuttings. You may see new shoots grow right away; this is fine, so long as they, too, can grow out of the water. If you’d prefer to, you can also snip off new growth to focus more energy on rooting.
It’s important to keep the water clean in the container you have your cuttings in. Not only does dirty water harbor bacteria, which cuttings are susceptible to, but it can also become toxic from the plant’s waste material, raising nitrates to a dangerous level for the cuttings.
Change out the water in these containers at least three times per week to ensure that the cuttings stay healthy. Without proper maintenance, string of hearts cuttings won’t survive. If algae or bacteria begin to make the water cloudy, it’s time for a rinse.
Soil Propagation Method
Soil propagation is another great way to propagate string of hearts at home, and it’s super easy to do. You can use a mixture of seed starting soil and perlite, coco husk, peat, or even just plain vermiculite, which maintains a constant supply of moisture to the new roots as long as there is moisture in the pot. Here’s how to do it.
Step 1: Gather your materials
The best way to get started propagating your string of hearts is to gather all of the tools and supplies you’ll need to complete the project from start to finish. Naturally, you’ll need to prepare your pots of 3-4” with moist, well-drained soil.
This is also an opportunity to make sure that all of your tools and supplies are clean. Sanitize your shears or blade with rubbing alcohol, then use warm, soapy water to clean any pots that are reused or that have any dirt or debris from previous plants in them.
Step 2: Plan your cuts
Once you’ve got everything ready to go, it’s a good idea to go around the plant and identify which vines you plan to take as cuttings. They should ideally be about three to six inches in length, but no longer than this.
Make sure that if you’re propagating a smaller plant, you leave enough foliage on the original plant for it to thrive and recover effortlessly. Larger plants won’t need you to be as careful, but still leave some new vines to take the place of the older ones you remove.
Step 3: Take the cuttings
Now, you finally get to break out the shears! Try to cut just above an active node (where a leaf is), which should be an inch beyond the point where you want the least leaves on the stem. You’ll then need to carefully remove the leaves of the stem an inch or so above the cut point.
As you take each cutting and remove the leaves from the stem where the roots will soon grow, place them on a clean, dry surface until this step is complete. Try to keep the entire process under about two minutes, so that your new cuttings can make it into water right away.
Step 4: Rooting hormone
After you finish taking all of your cuttings, they will need to be dipped into rooting hormone, which will help to speed up the rooting process. This can make a huge difference when propagating string of hearts in soil.
All you have to do is dip about a centimeter of the bare stem on the cut end into the hormone, then allow the cuttings to sit for about a minute before planting them. This gives them a chance to soak up some of the hormone through the wounds that were just created.
Step 5: Into the soil
The most important step is to plant your cuttings properly. The absolute best way to do this is to very gently use the stem to push down into the soil until the bottom leaf is barely sitting above the soil’s surface.
You can plant several cuttings in one larger pot, or just plant one cutting in each smaller pot. Seedling trays are also great for use with single-stemmed starts like these, especially since they can help encourage roots by providing some walls around the developing root systems.
Step 6: Water, water, water
It is imperative to keep these cuttings moist for the first two consecutive weeks. While they shouldn’t be completely waterlogged, some moisture should be available to the new root tissue at all times; watering once per day indoors is usually just fine.
You can also use a humidifier if you happen to live somewhere particularly dry, which helps keep the soil from drying out so quickly and stranding your helpless cuttings. To water with a watering can, pour slowly for the first few weeks so as not to disturb the new roots.
Caring for String of Hearts Cuttings
Like their mature counterparts, string of hearts cuttings need certain levels of care and maintenance. These care factors can be boiled down to the standard general needs of all plants, like light, soil, water, and other contributors to growth. Here’s the gist of it!
Light
Much like a typical succulent, string of hearts needs bright, indirect light as a cutting, but not as much as a mature plant would. There should be at least some protection from the brightest points of the day, as too much light will cause yellow leaves.
Without proper lighting, your cuttings won’t grow roots fast enough to save themselves from malnutrition. Eventually, they would wilt and crisp. Finding the right light balance is as easy as moving cuttings away from the direct light of a window.
Water
As we may have mentioned before, water is of utmost importance to string of hearts cuttings. Without access to water,new root tissue can’t form. Without roots, your cuttings can’t grow. Keeping that moisture up is key.
After the first two weeks, it’s safe to start dialing it back a little on the watering. Allow an extra day before watering, and slowly wean back water until the eight week mark, when a cutting is considered rooted.
Temperature
Being a succulent means that string of hearts tends to like things on the warmer side. Anything below 60 degrees fahrenheit is dangerous, yet temperatures above 80 degrees could prove fatal, as well.
Most households and offices sit somewhere in the middle of this range on a day-to-day ambient temperature basis, which is perfect for growing sensitive string of hearts cuttings. So long as there are no frosty drafts or scorching windows too close, your cuttings will be fine!
How to Pot String of Hearts Cuttings
The ideal time frame for a cutting of string of hearts to mature to the point where it can be on its own and treated like a mature plant is anywhere from six to ten weeks, but this varies wildly depending on your climate and the care the cuttings receive.
Of course, use your best judgment to decide if a cutting has rooted enough to be planted. There should be at least a few different roots growing from your water propagated cuttings, and soil propagated cuttings should be starting to grow new vines.
Sufficient roots will make the transition into a new pot easier; rather than worry about losing a root or two, you should have enough to afford the loss if you accidentally break one off during planting. Roots should be a few inches long.
If your cuttings aren’t quite there yet, you can always give them more time, sunlight and care. Every plant is different, and every environment can alter the way a plant grows, especially in its adolescent stage. Here’s how to pot cuttings that are fully rooted.
Step 1: Find a pot
To plant one cutting by itself, it’s best to use a smaller pot to start. A three to four inch pot is typically what’s used for single cuttings, but you could fit two or three into one four inch pot, if you wanted to.
For a full hanging-basket look, prepare a basket with loose, moist soil. You’ll need several cuttings to fill out a hanging basket within two months of planting, or you’ll end up with just a string or two hanging over the side!
Step 2: Dig holes for cuttings
Now that you’re set up with a pot full of loose soil, dig holes for each cutting that are deep enough to house the entire root system without bending it too much to fit. The idea is to allow the roots to continue to point down so that they can establish fully.
Each cutting should be at least two inches apart. String of hearts isn’t competitive with itself, but they do each need their own personal space to absorb nutrients and water without having to steal from neighboring plants in the same pot.
Step 3: Plant the cuttings
Carefully remove the cuttings from either the water vessels they rooted in or the starter pots used to propagate them in soil. No matter how you did it, you should still have cuttings that are rooted and able to be planted with minimal risk.
Gently place them into the holes dug for them. Using one hand, hold up the cutting while the other hand fills soil into the hole. Once all the cuttings are in, go ahead and water in the cuttings until water drains freely from the bottom of the pot.
Step 4: Water some more
When cuttings of any plant are planted for the first time in a larger pot, there are some small risks involved. Smaller root systems won’t be able to tolerate dry conditions straight away, so they should be watered regularly just when the top of the soil dried out.
After some time and notable growth, you should be able to start watering your string of hearts like mature plants. The bigger they get, the less you should water them; but never let the soil dry out entirely. Your cuttings should be mature plants in a few more weeks!
Troubleshooting String of Hearts Cuttings
Not every propagation story is picture-perfect. Once in a while, cuttings have a hard time doing what they’re supposed to do, and that’s to be expected for at least some cuttings. Whether it’s an issue of technique or environment, there’s usually an identifiable cause. Here are the most common issues and how to fix them.
Yellowing leaves
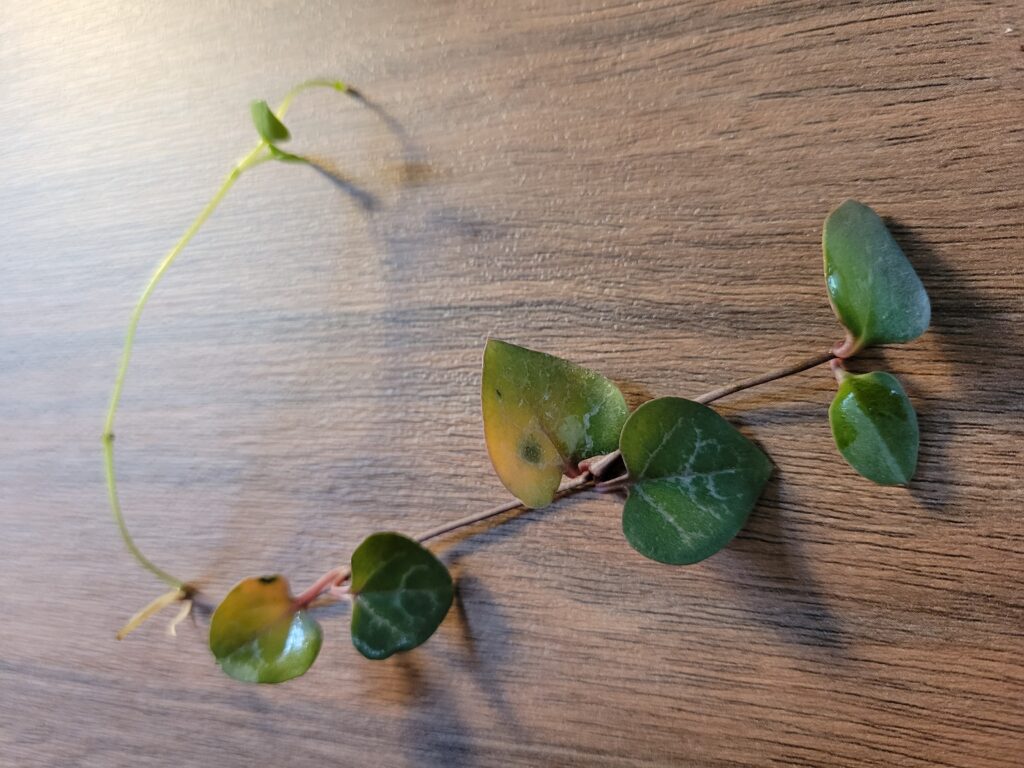
Every so often, string of hearts cuttings will turn yellow. The type of yellow could tell you what the issue is. For water propagated cuttings, yellow could either mean there are too many minerals in the water, or the plants are getting too much light (above).
Try switching to distilled water and placing away from the direct light of a window if they’re too close. Cuttings are more sensitive than mature plants, and even mature string of hearts can’t tolerate full, direct sunlight for long!
Another reason for yellowing leaves is root rot in soil propagated cuttings. The number one cause is water sitting at the bottom of a pot for too long, often due to a lack of proper drainage. As the soil soaks, it decomposes, spiking nitrate levels and rotting new roots.
There’s hardly ever a cure for this, but you can try to repot into drier soil with a well-draining pot if there are any tender, white roots left. These are the only viable ones. Otherwise, you may need to start over and try, try again!
Little or no root growth
Another very common issue with propagating string of hearts is an absolute lack of root growth. While this could be caused by an issue with the soil or water used, it could also be environmental, as well.
Temperatures that fall too low at any point in the day could stunt the growth of new roots. Since these plants don’t tolerate cold, they won’t grow in conditions that fall below 60 degrees fahrenheit. If this applies to you, try moving them somewhere warmer.
A lack of light can also contribute to the lack of growth of new cuttings. Unfortunately, these cuttings needs quite a lot of bright, indirect light in order to photosynthesize, which needs to happen for root production. Without light, there are no roots.
