
String of pearls is one of those unicorn plants; once in awhile, you come across one that you can keep alive. While this succulent is particularly tricky to grow, it is fairly easy to propagate. It can be found at most small nurseries and even some big box stores on occasion, but as with most trends, they tend to wax and wane, so it’s a good idea to snatch one up before they sell out for months!
Such an interesting plant should be more popular, but there’s a reason not everyone has one, and that’s because they require more care and maintenance than most other succulent houseplants. Despite being a tricky plant, string of pearls can be a fun adventure for those looking to try out a new growing challenge.
About String of Pearls
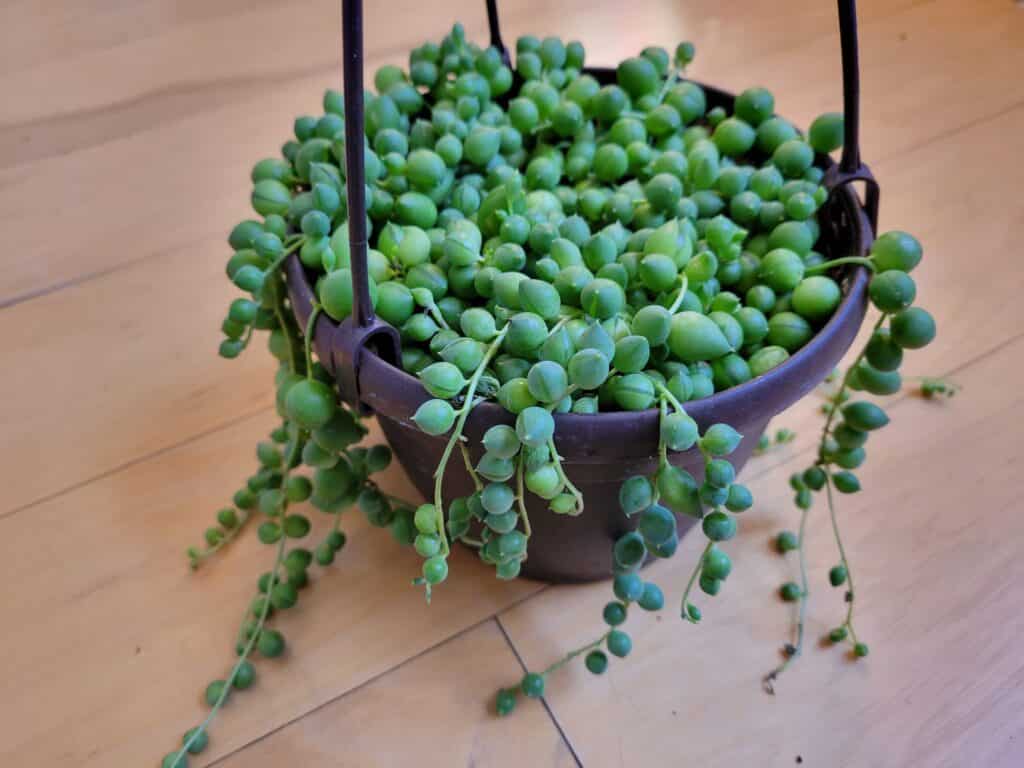
A member of the aster family, string of pearls is a succulent vine that has small, rounded leaves in the shapes of small pearls, hence its name. It is native to regions of South and East Africa, where it grows as a ground cover succulent that establishes roots wherever it grows a new pearl.
The unique thing about these plants is that each tiny leaf has a small split in it, which forms a sort of window for more sunlight to enter the plant, which helps boost photosynthesis.
These little windows make the leaves of this plant gleam in the sunlight, much like green stained glass.
Typically grown as a houseplant, string of pearls will also grow outside in some subtropical climates, but prefers its native habitat above all. They can be tricky to grow inside in cooler climates, which is part of the reason they go in and out of style.
Tools & Supplies for Propagation
For any type of plant propagation, you need a basic set of tools to cover the essential functions of the procedure. This is why we developed a list of useful tools and supplies to have on hand for any of the propagation methods you might use to propagate your string of pearls.
Whether you need to cut back your plant and have some extra starts on hand, or you simply want to make more of the plant you love, you need an idea of what to expect. Here’s what we recommend for most types of propagation.
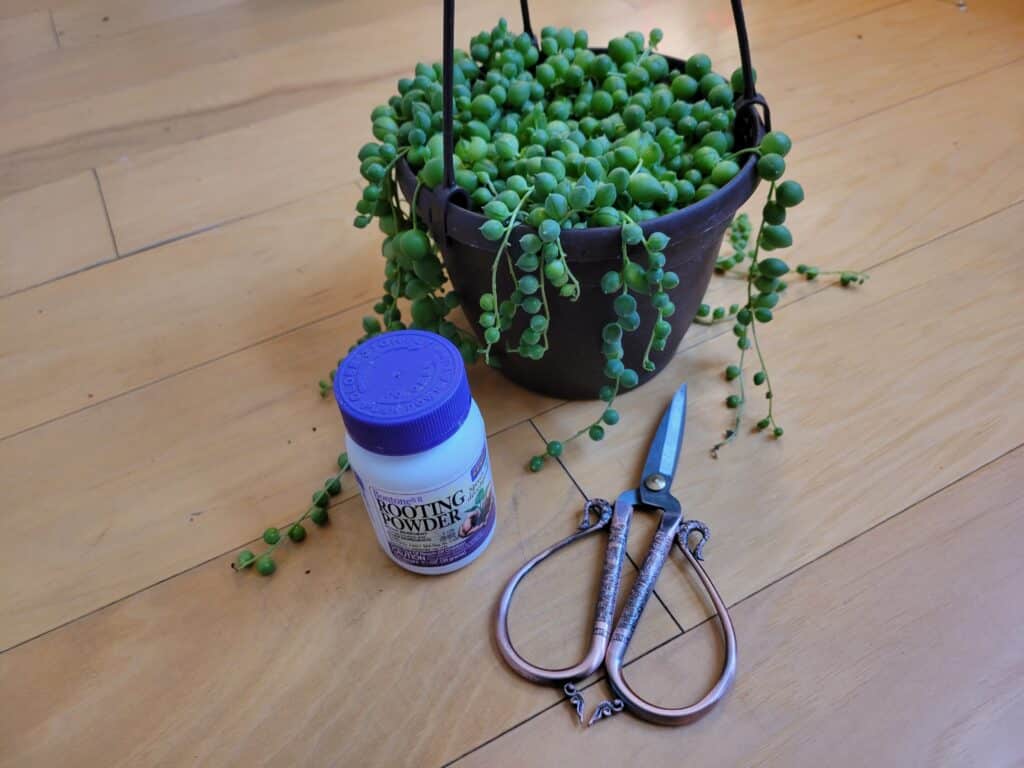
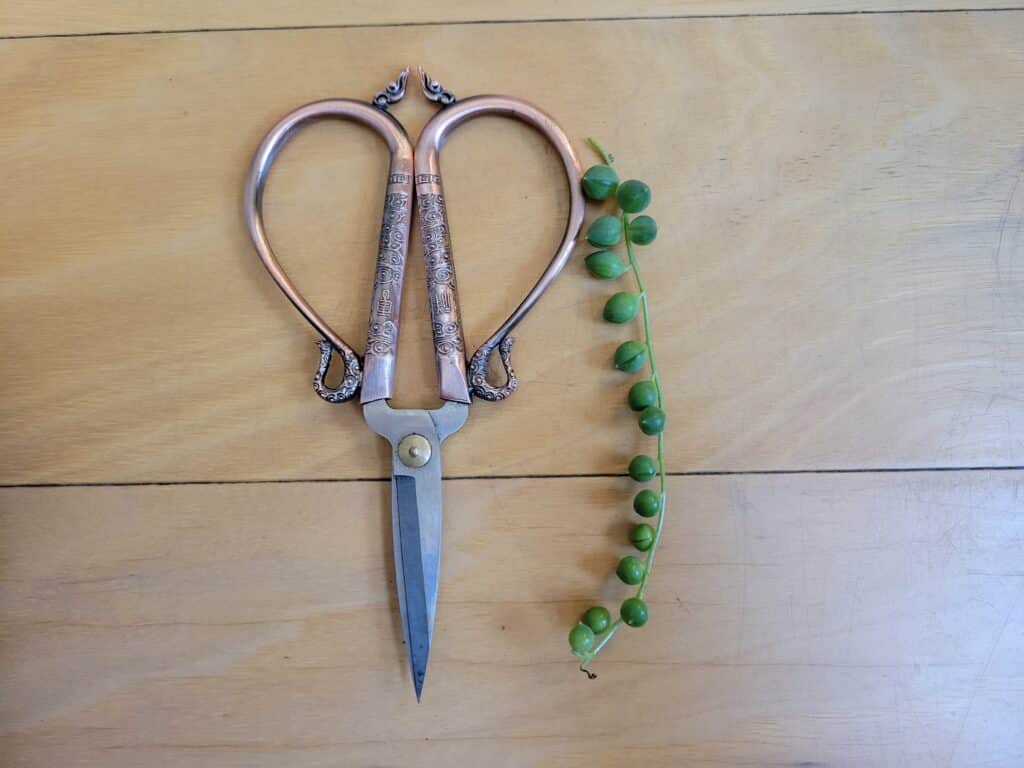
Shears
Sharp, clean shears are the keystones of plant propagation. They make quick work of cuttings and help keep damage to the original plant to a minimum. If you’re short on shears, or you don’t have a pair that fits the bill, you can also swap them out for a new razor blade, so long as it’s sharp, clean, and safe for you to handle. An X-acto knife can also work in a pinch with the same qualifications: sharp and clean.
Rooting hormone
This stuff is like propagation magic. Designed to encourage new root growth on cuttings, rooting hormone makes the process of rooting a new cutting much quicker and far more successful. It typically comes in a small plastic container as a powder, but can be found as a liquid, as well.
Effective use of rooting hormone helps to close the gap between losing access to nutrients and making a new nutrient delivery system. Roots are the difference between a plant living and dying, so it’s essential to get those growing as soon as possible.
Water containers or vases
Any type of clear container that can hold water and is easy to clean will be your best friend for water propagation. Having that clear window helps you to see how far along the roots are at all times, and also delivers a bit more light to the rooting points on a cutting.
Water containers should be wide-mouthed or otherwise easy to clean with a bottle brush. You’ll be changing out water frequently for a string of pearls cutting. Another point to note is that a container or vase should be short enough that the top of the cutting can happily hang over the side of the container while the rooting end has access to plenty of water.
Fresh soil
If soil propagation is what you’re after, then there will be a couple different types of soil to use for your string of pearls cuttings. The first will be a starter soil to encourage new root growth. It should be heavy to perlite, vermiculite, or both to help maintain even moisture levels, but should still have some coco or peat for stability.
The second is the potting soil you’ll use to pot your new cuttings in their new home. This soil can be almost anything with perlite in it, but try to avoid soils that stay waterlogged; there are types on the market specifically for succulents, as well as for moisture control. These are great options for string of pearls.
Rubbing alcohol
Rubbing alcohol is a staple that most people already have in a cupboard somewhere in their homes. To tack on yet another use for it, rubbing alcohol is great for sterilizing plant shears, pots, water containers, and any other tools you’ll be using to propagate your string of pearls.
A benefit of rubbing alcohol over hydrogen peroxide is that rubbing alcohol leaves no residue, while hydrogen peroxide will leave a film of the dried chemical on your tools, which can leach into your new cuttings. Any rubbing alcohol from 70 to 90 percent will work like a charm!
How To Make Cuttings from String of Pearls
At first glance, it might be tricky to figure out exactly where or how to make a cut on a string of pearls plant. This is because the entire plant is covered in the lovely little spherical leaves that make it so much fun to grow. While you might be wondering if there’s a right or wrong way, this one really doesn’t have a wrong way!
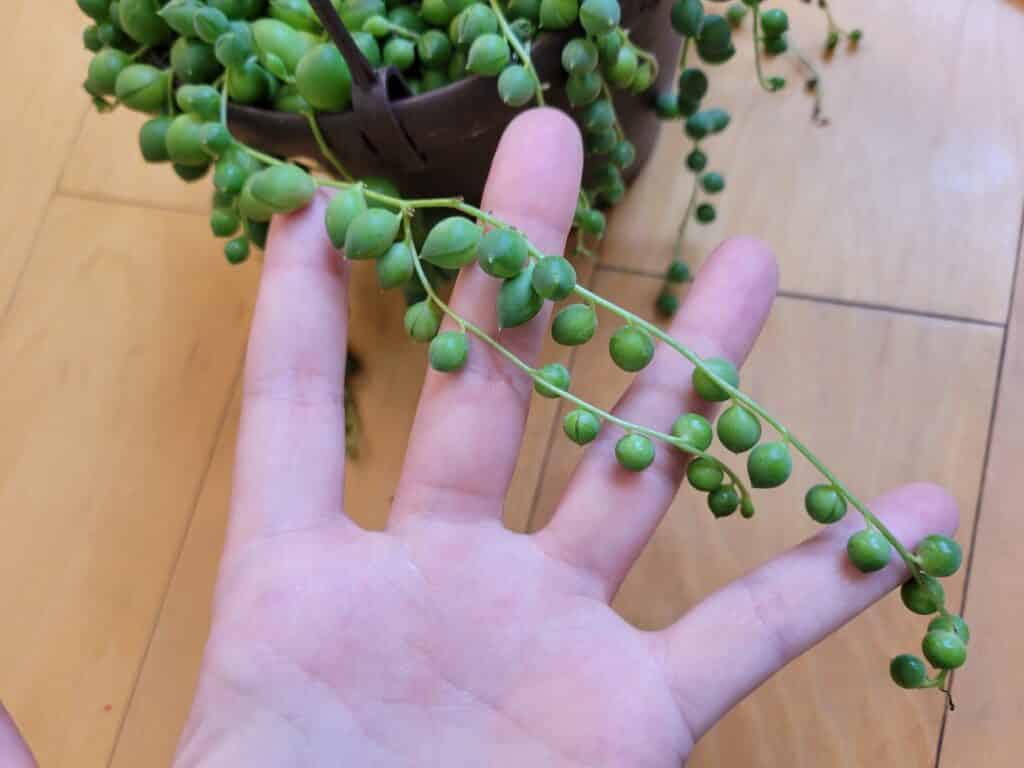
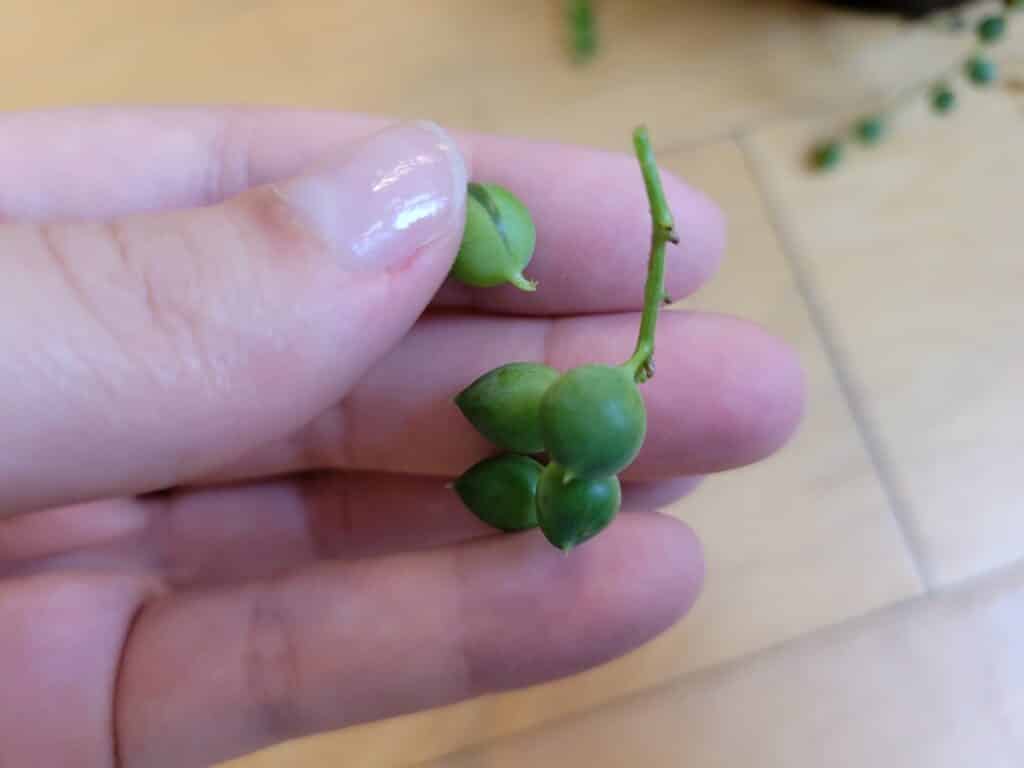
The idea is to have enough stem so that you can keep a length of a few inches of leaves, as well as about one third of that length of bare stem. If you have some longer tendrils, these will be the ideal place to snip off some cuttings. It doesn’t matter exactly where you cut (before or after a node), so long as that cut is made with a pair of sharp, sterilized shears.
If you need a little more specific measurement for a tendril that comes pretty close to being long enough, try to get at least four inches of stem that has leaves, with the cut end having at least an inch and a half of bare stem for roots to sprout from. This is the end that will be rooting in either water or soil, so the more, the better.
Interestingly, this plant can grow from just one little baby pearl! Some folks prefer to just drop a few into some moist soil and let them grow that way, while some will toss them in rooting hormone, then press them partially into soil and wash away the powder left over on the part exposed to sunlight. These are all ways you can make cuttings; string of pearls isn’t picky!
Types of Propagation for String of Pearls
Most plant types will propagate happily in more than one way, but string of pearls is especially versatile. Its morphology makes it as easy to propagate as dandelions, which is really saying something for those who know how fast they can take over a garden. The point we’re making is that string of pearls takes well to several types of propagation methods!
- Water propagation
- Soil propagation
Water Propagation Method

This method is the go-to for propagating most houseplants these days, and string of pearls is no exception. Propagating string of pearls in water looks a lot like what you may be used to propagating other plants like pothos and philodendron, which makes it easy to adapt the method for a string of pearls. Here’s how it works.
Step 1: Gather your materials
This is actually the most important step, believe it or not! Having all your materials ready to grab within arm’s length makes propagating any plant so much easier than scrambling for the one thing you forgot. Make sure you have your water container or vase, plant shears, rooting hormone (if you’re using it), rubbing alcohol, and clean, fresh water.
To get everything prepped, wipe down all the tools you’re using, including any forceps, shears or other blades, and your water container (before you add water to it). This small step will help eliminate the possibility of a pathogen causing issues with your new cuttings and the original plant. Once the water container is dry, fill it to the appropriate level with water.
Step 2: Decide where to make your cuts
To get a feel for where you plan to make cuttings, go through the plant before you pick up your shears to determine which strands are long and healthy enough to make good cuttings. Try to opt for longer strands of five inches or more, with plump and vibrant green leaves throughout.
If you only have shorter strands, it might be best to wait until they grow or opt for a soil propagation method instead, since the stems won’t be long enough to reach into water if the leaves are hanging over the side of the water container.
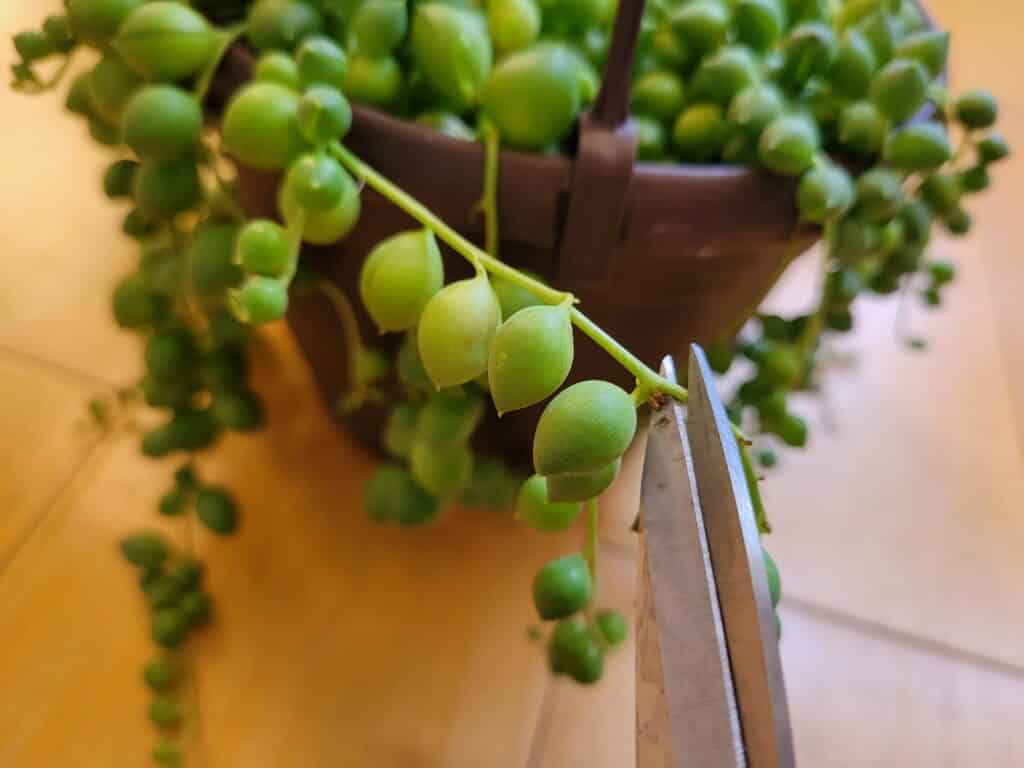
Step 3: Cut the starts
Begin to cut the stems you want to propagate by using one quick snip to remove the stem from the roots. Be careful not to cut too close to the base of the plant, where it’s easy to accidentally clip off some extra stems that should be left to grow. Gather the cuttings you took in one pile on a clean surface.
Tip: It can be helpful to carefully blot a small amount of ground cinnamon onto the cut of the original plant to protect it from any potential pathogens lurking in the soil!
Step 4: Remove a section of leaves

A good general rule of thumb is to remove about ⅓ of the stem’s leaves, but this varies depending on the length of a cutting. If yours is over seven inches in length, there’s no need to remove more than two inches of leaves to promote root growth. Carefully pluck or cut the leaves away from the stem without cutting the stem at all.
If you’re using rooting hormone, now is the time to dip the exposed stem into the rooting powder. After this, they can go straight to their new container! Roots will slowly grow from the points, or nodes, where you removed leaves from the stem. This process takes a few weeks depending on where you live and how much light they get.
Step 5: Maintain the water
Over the next few weeks, your cuttings will start to grow roots. While we know this is an exciting process to watch, it’s also a crucial time for new cuttings.
The water in each container or vase you used will need to be changed out for new water every couple of days, and the containers themselves should be cleaned throughout the process. If you used leca pebbles, rinse them with hot water throughout and allow to cool.
Keeping the water clean means that the new roots on the cuttings won’t struggle to have access to oxygenated water. When the water is allowed to sit for long periods of time, nitrogen builds up from decaying cells of the plant stem, which becomes toxic to the new roots. As you can imagine, it’s tricky to bring back cuttings that suffer this fate.
Soil Propagation Method
String of pearls, being a naturally dry-loving succulent species, is never happier than when it’s propagated using the soil method. There are actually a couple of different ways soil propagation can be done with string of pearls, but the full-length strands take far less time to establish than single leaves. Here’s the idea.
Step 1: Gather your materials
Before you start eyeing where you’ll make your snips, it’s best to gather up anything and everything you’ll need for the entire process to minimize the time you spend searching for rooting hormone and increase the time you spend focused on making new cuttings.
You’ll need a planter or other small pot with drainage holes and filled ¾ of the way to the top with sufficiently wet soil, plant shears, rooting hormone, and fresh, clean water before you start. It helps to make a propagation checklist to use for other plants too!
Make sure that all your tools are clean and sanitized by wiping them down with some rubbing alcohol and allowing them to dry completely before you begin. This not only helps to prevent the cuttings from falling ill, but it also protects the original plant from infection that could be carried on shears or blades used for cutting other plants.
Step 2: Decide where to make your cuts
This is where you’ll determine where to make cuttings. Ideally, you want enough stem with leaves to hang over the side of the pot, while there’s enough stem without to help anchor the cutting in the soil. Try for an overall 8 inch piece if you’re not sure how much to cut.
Tip: Use a colored string or twist tie to mark places on your string of pearls where you intend to cut. Be very careful, as leaves fall off the vines with hardly any effort!
Step 3: Cut the starts
Once you have established where to cut your plant’s tendrils, make your cuts with sharp, clean shears. Use one swift motion to remove the cutting; having to saw or gnaw through with a dull blade can damage the cutting to the point where it has a hard time establishing roots and taking up water.
For soil propagation, using rooting hormone is nearly always a must. Just after you’ve finished cutting each start, you’ll want to remove the bottom few leaves (closest to the cut) and dip them in your rooting hormone up to where they will be buried in soil.
The idea is to encourage roots to grow from each node that a leaf was removed from, which is the basis of a healthy root system.
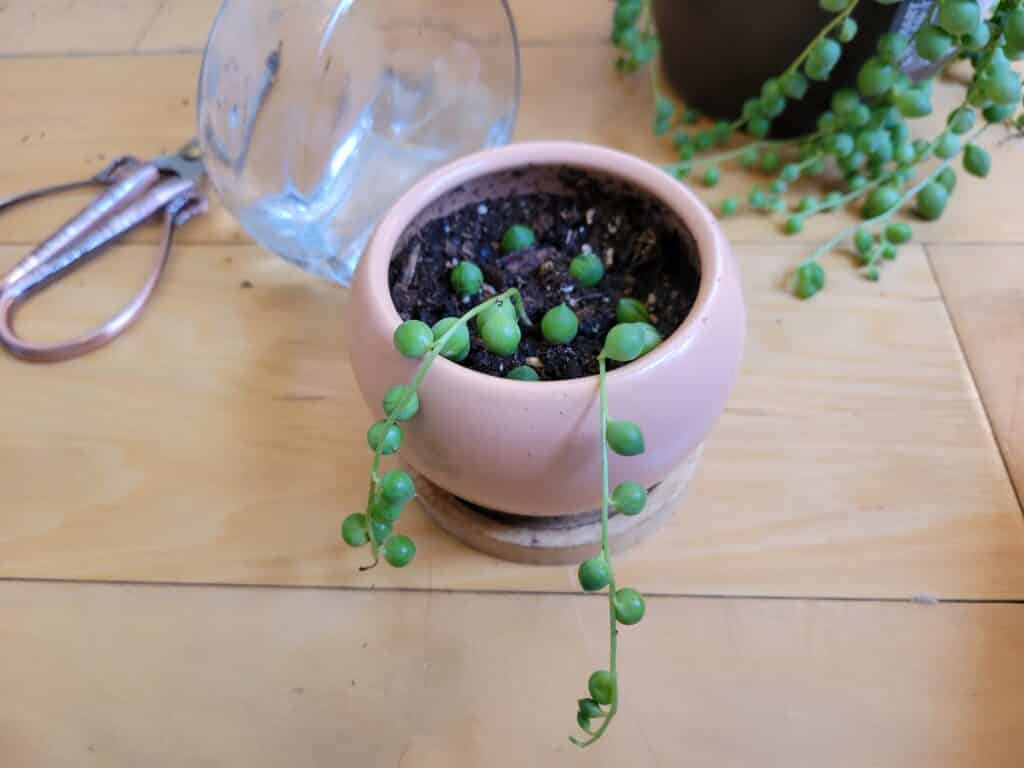
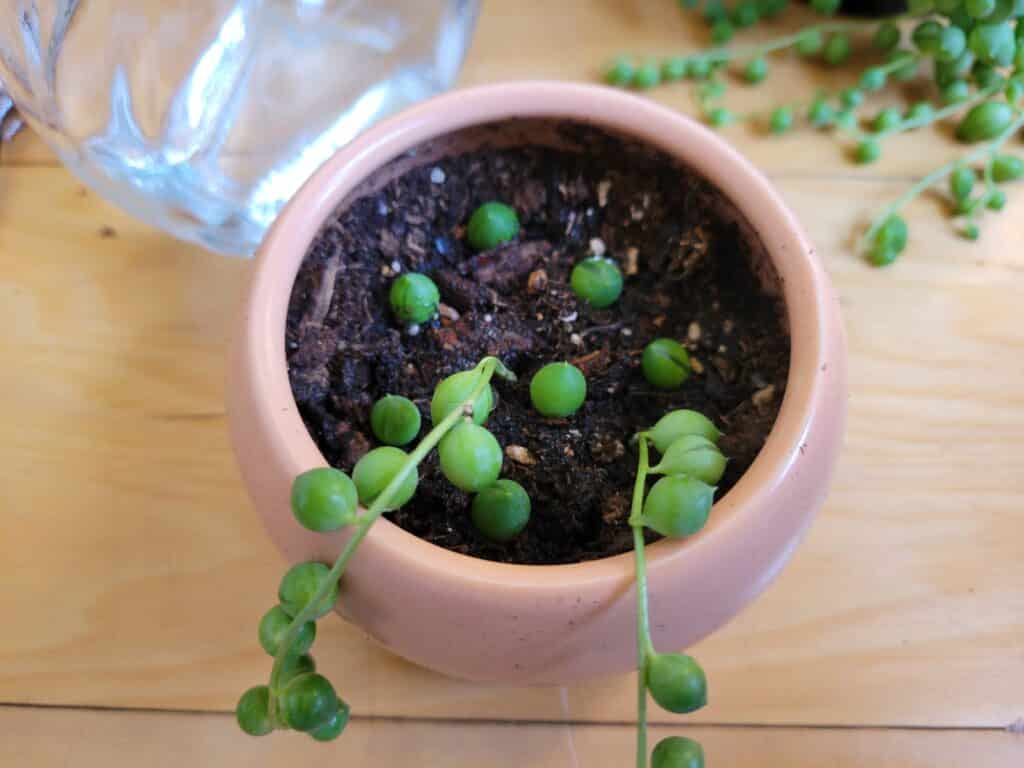
Step 4: Into the soil

At this point, you can either use a clean finger or shears to make a narrow but somewhat deep hole in the soil that you have prepared. A pencil or pen makes a fantastic sized hole for string of pearls stems! Anything you use should be cleaned with alcohol before use, just like your tools, for the same reasons.
With holes made in the soil, you can carefully back the cut stem into the pot until the first leaf is just barely above the soil line. Try to hold it steady while you water with a small amount of fresh water to settle the soil around the stem. Typically, several cuttings can happily exist in one pot together.
Step 5: Maintain moisture
For the first couple of weeks in soil, your string of pearls needs help growing new roots to support the rest of the plant. In light of this, it’s crucial that you make sure there is always at least some moisture in the soil, but not so much that it’s obviously soaked. You can just give it a sip every day, or every couple of days.
The soil should be soft enough that new roots can emerge from the buried stem and easily make their way around the pot. If the soil is very dry, this process is much more difficult. Providing water also allows the cutting to take up at least some water to sustain itself while new roots grow.
How To Care for String of Pearls Cuttings
Once you’ve got some cuttings brewing their new sets of roots, you’ll need to make sure they get everything they need in order to grow into healthy, mature plants. Now that you have an idea of what cuttings require, it’ll be a breeze to keep them growing! Taking care of string of pearls cuttings is just like taking care of a mature plant, but more frequently.
Caring for cuttings in water means you’ll be changing out the water every few days. That being said, if you wait until the water is discolored or full of debris before you change it out for fresh water, there’s a good chance that the roots have already suffered some shock.
Soil cuttings are much easier to care for. Since string of pearls isn’t partial to lots of water, this method is actually best for them, and therefore they grow much better in soil as new cuttings. Essentially, you’ll want to keep the soil damp, but not heavily wet for the first week or two. After that point, only water when the top half of the soil is dry.
At this point, your cuttings won’t need any food just yet; this can wait until they’re big enough to be repotted into bigger containers. However, a small burst of heavily diluted fertilizer in soil cuttings once every two weeks may help to establish a larger plant near the base, which in turn means more tendrils in the long run!
Transitioning From Cutting to Mature Plant
After roughly eight weeks or so, your string of pearls cuttings should be ready to pot into their new long-term containers. This means they’ll have a great start to a thriving root system with several strong roots, and will have started growing from the tips of the vines again. These are signs that your cuttings are doing well.
A grown-up plant needs a grown-up pot, and that’s what your new plants will need once they’ve established roots. When you see new growth, it’s time to make the switch.
Gently unpot the plants from very moist soil, being very careful not to damage the fine, brittle new roots. Pot them into planters that have enough room for a year’s growth at the least.
From here, you can treat your new string of pearls plants just like you would fully mature plants! They’ll need regular water, light, and food, which are all important to give in moderation. We’ll go over this next.
How To Care for String of Pearls
String of pearls needs a few basic commodities to thrive in any indoor environment. First and foremost are the common requirements for all plants: light, water, and food. Since string of pearls is a succulent plant, it naturally requires lots of bright, indirect light to help it photosynthesize. Aim for about ten hours per day at the least, but no more than 14.
Due to the delicate nature of the roots, it’s also a good idea to prevent overwatering. With string of pearls, less is more, so you never want standing water around the roots. String of pearls is particularly easy to drown, and the roots will rot quickly if too wet for a long period of time.
A great tool for those with little experience growing string of pearls is a moisture meter. These are usually a few bucks at a home and garden store, and will save you tons of guesswork when you’re worried about watering. This awesome little gadget can also help you learn to see and feel when string of pearls needs to be watered, so you won’t need to use it forever!
As far as food is concerned, this plant doesn’t need lots of it. A single watering with diluted cactus or succulent fertilizer once every six months is a good place to start, and most growers don’t feed any more than this due to the slow-growing nature of the plant. If excess nutrients are left in the soil, they aren’t used; they calcify, which can burn roots.
String of pearls likes a dry climate. For most indoor environments, the standard humidity is perfect. However, don’t go out of your way to remove it from a somewhat humid environment if your house gets that way; simply water a bit less, and you’re good to go!
If your string of pearls starts to look a little stringy or leggy after awhile, you can just choose some of the longest tendrils and lay them back overtop of the pot to root. Make sure at least some of the leaves from each tendril is touching the soil.
Doing this helps to make fuller, healthier looking plants. Leggy plants are often due to lack of sunlight, so move it to a brother location, if possible, when this happens. Sometimes, you can prevent a string of pearls from growing too leggy by simply turning it once a week.
