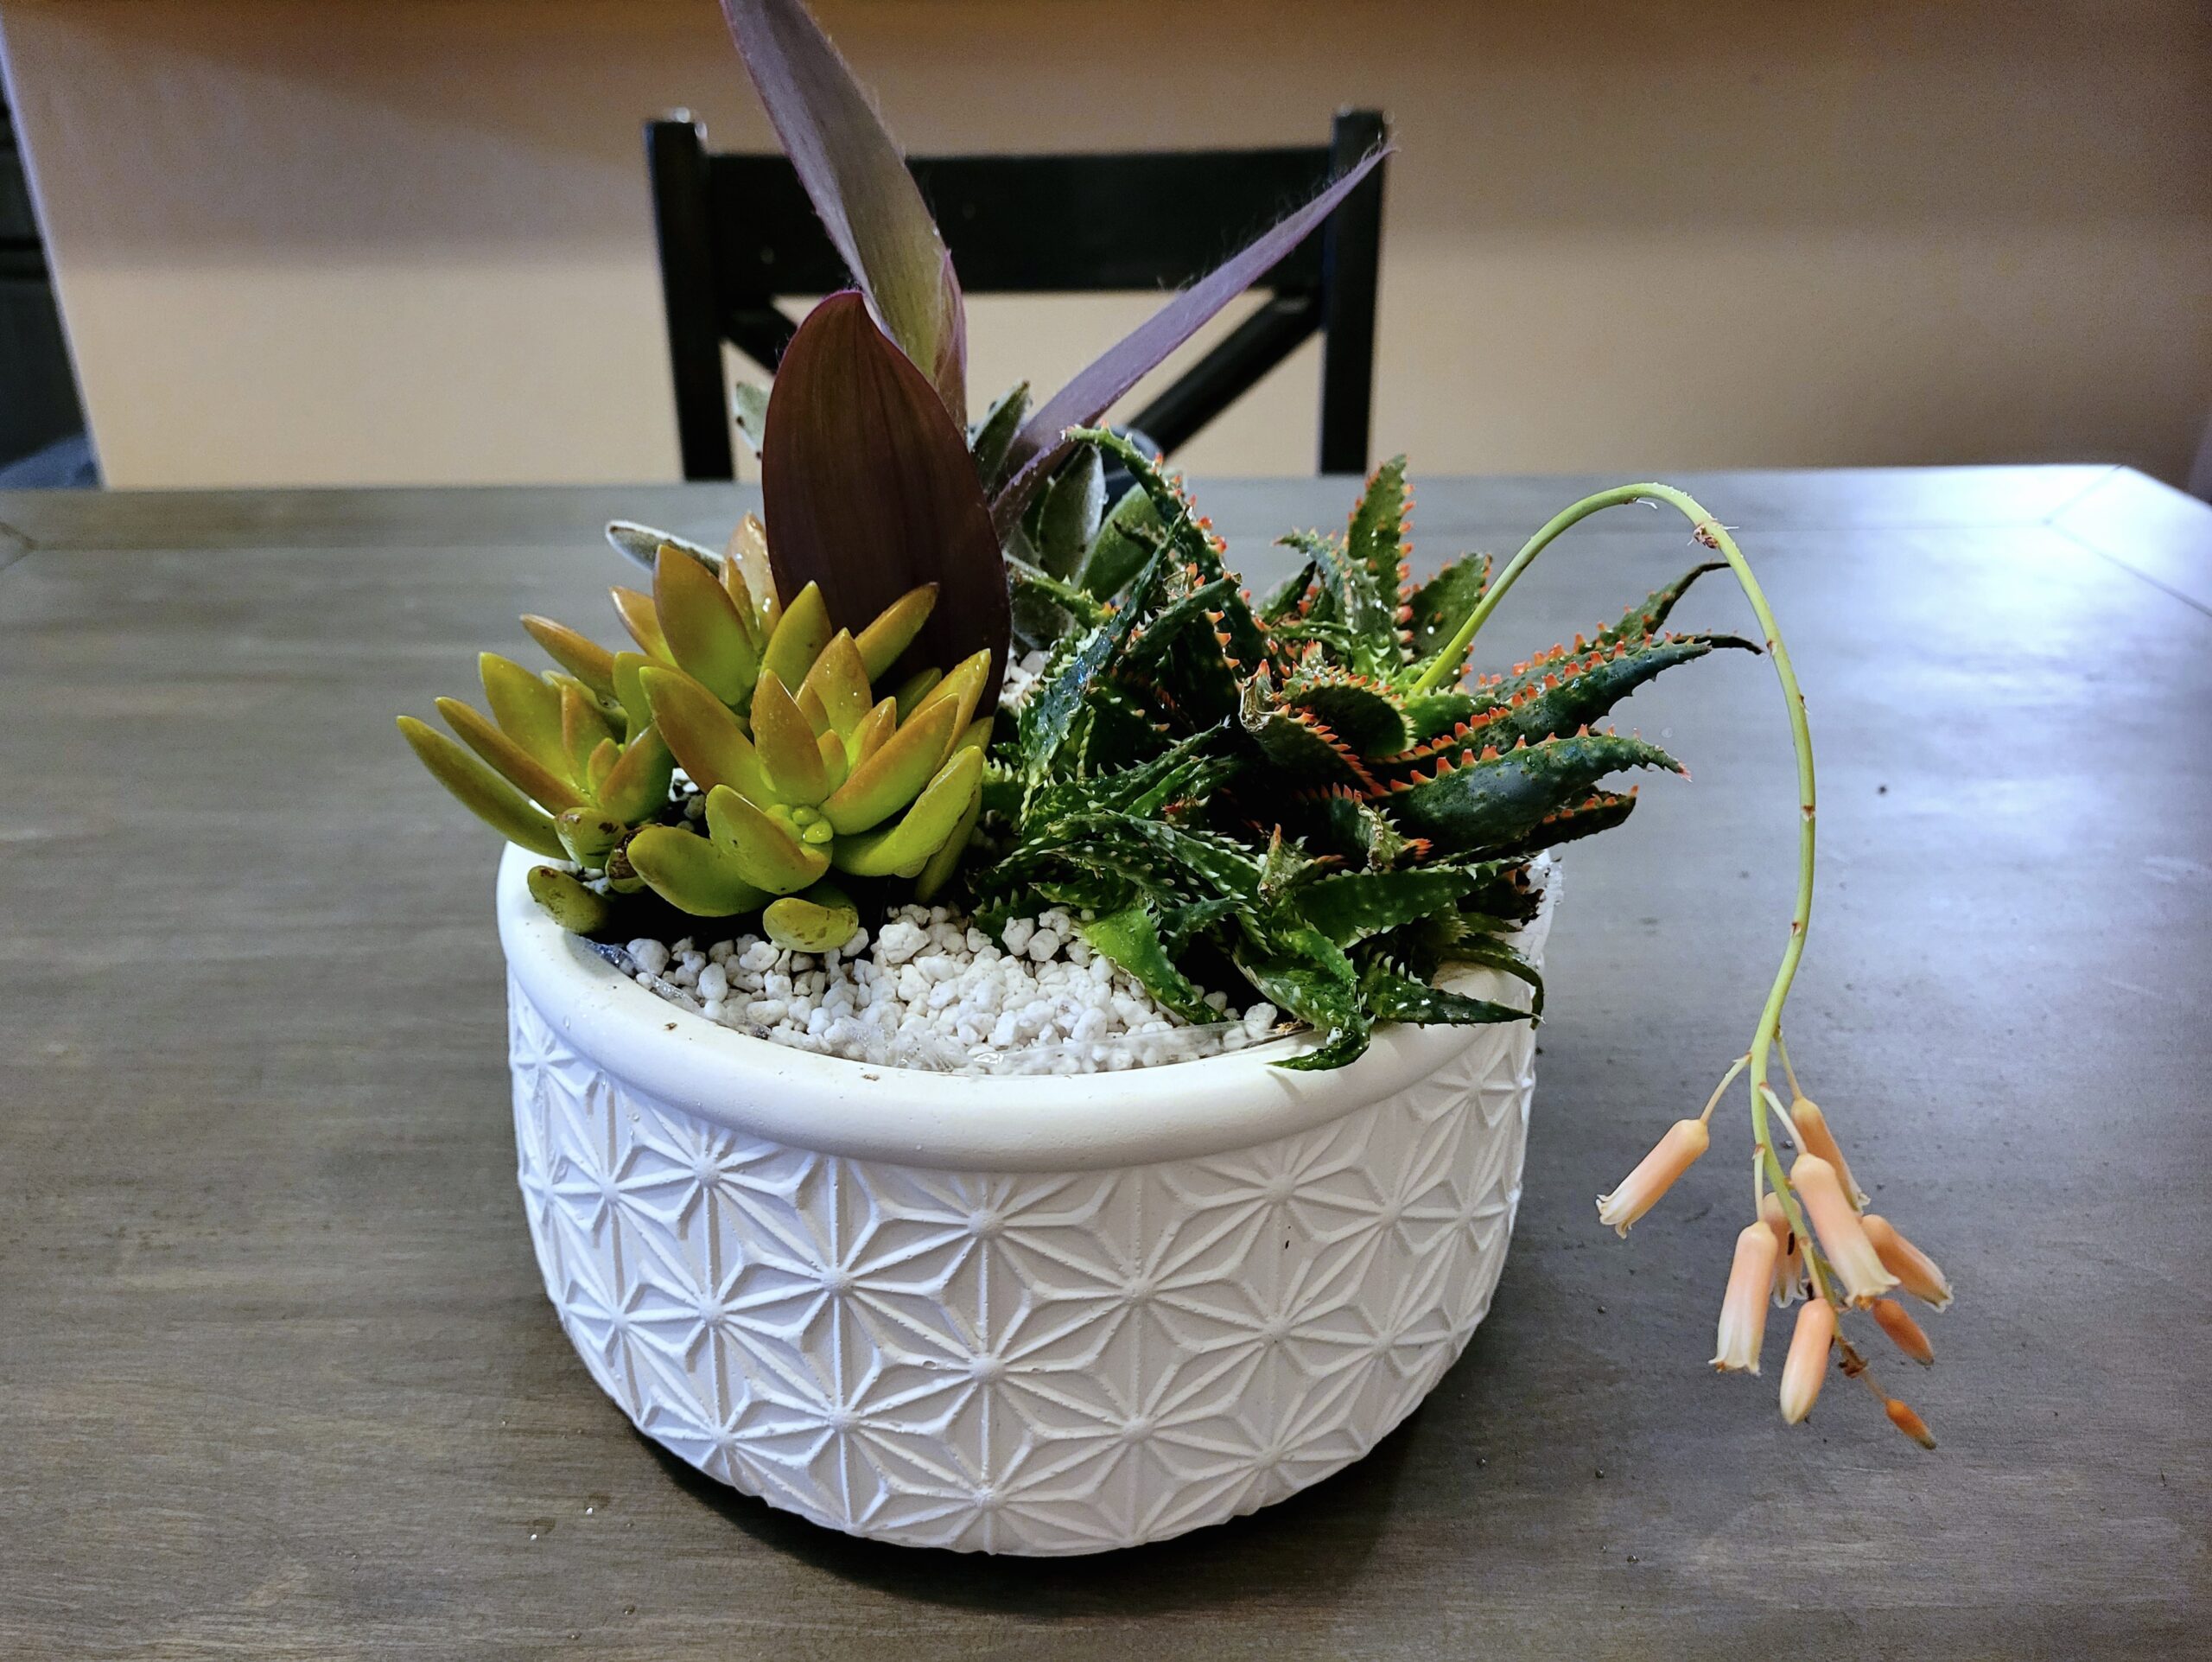
The succulent craze is one that has lasted and even grown, despite other houseplant trends coming and going. These cute little plants are beloved for their compact nature, interesting foliage, and varying colors.
Succulents are popular in every setting that humans inhabit; offices, homes, kitchens, and even bathrooms. Some even go so far as to grow them in their cars! There’s no quick and easy explanation as to why succulents are so popular, so let’s take a closer look at their history.
History & Culture of Succulents
Succulents don’t all come from the same places in the world. On the contrary; they can be found in the most remote regions of the planet, from rainforests to dry deserts and even woodlands. Some grow primarily on mountainsides, but others prefer rich humus. They’re all so very unique.
Most succulents on the houseplant market today are from warmer, drier regions. They’re a testament to the growing houseplant industry, particularly with millennials looking for low-maintenance ways to beautify their homes.
But millennials weren’t the first to grow these cute little plants. In fact, generations as far back as baby boomers have been growing succulents in containers indoors and even in flower beds outdoors for generations. In some climates, they can be grown outdoors year round.
With the rise of social media, like photo sharing websites and media apps, succulents became even more popular. They’re surprisingly photogenic and make wonderful photo props for products, branding, and even filming backgrounds.
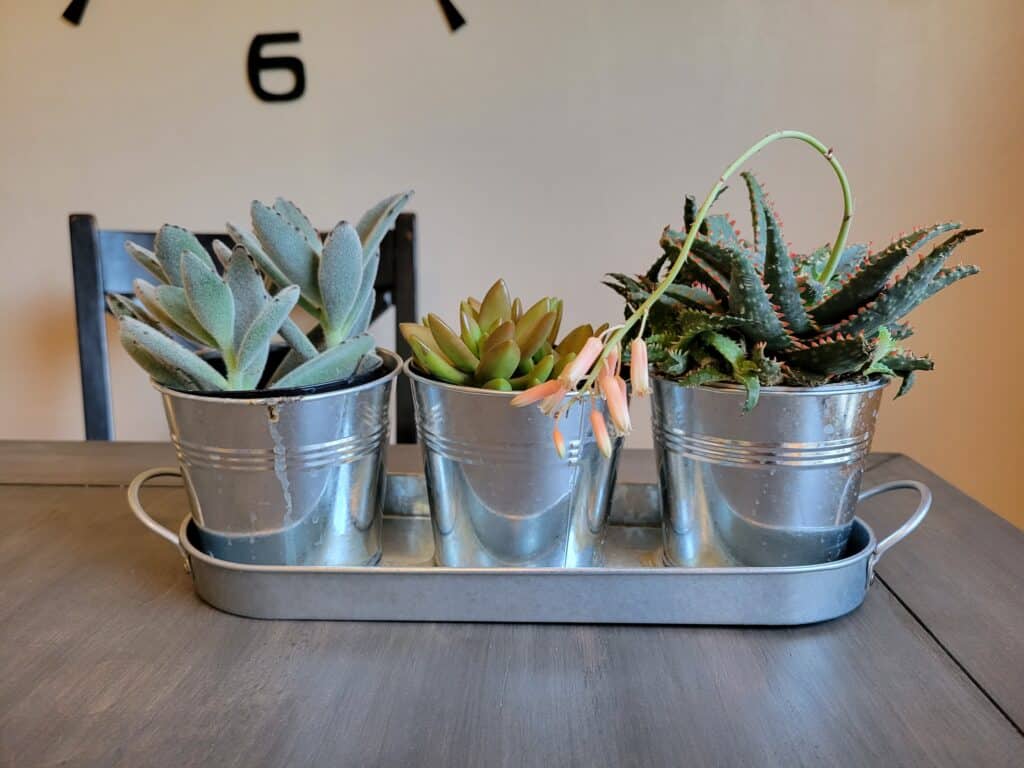
The easy care and versatility of succulents is what led them to become so popular in modern interior design. They can now be found at almost any store, sold in tiny pots or arrangements. While succulents can be hard to kill, though, they’re not invincible.
A common myth about succulents is that they don’t need water. The truth is that they do; most succulents in planters and pots dry out far quicker than soil out in the desert. This is part of why succulents make up so much of houseplant sales; they’re neglected, then replaced.
Aside from the obvious “easy-care” allure, succulents are a compact way to bring life into a room. Though a succulent or two may not clean the air in your home (another common myth), they absolutely will offer some relaxation and tranquility with their mere presence.
Types of Succulent Propagation
As there are countless species of succulents, there are also lots of ways to propagate them. Most propagation methods are easy, consisting of nothing more than what would normally take place in nature.
However, we can do a little better by giving succulent cuttings a head start. Propagating in a clean, warm, and bright environment is incredibly easy, so long as you remember to check in on them! Here are a few of the most common ways to propagate everyday household succulents.
Leaf cuttings
Leaf cuttings are the most common of all the different ways to propagate a succulent. Most indoor succulents can be propagated using this method, which is easy, fun, and interesting. Leaf cuttings can also yield more individual plants.
Each leaf of a leaf cutting will ideally turn into its own plant. All of the cells necessary to form roots and a new stem are located in the part of the leaf that attaches to the stem of the original plant. That’s what makes it so easy to propagate succulents with just leaves!
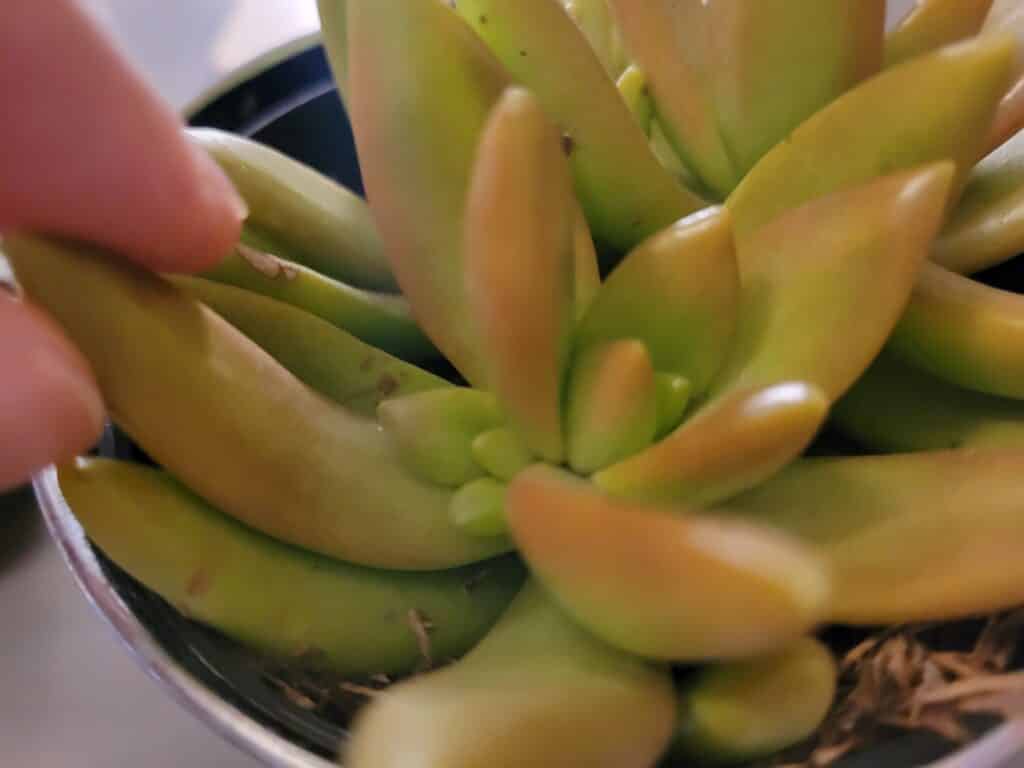
Most succulent leaves will easily break off from the stem with a little encouragement. Simply grab onto a leaf and give it a slight twist; it should come away fairly easily. Leaves that are rounded at the stem are best for this method; avoid doing this with leaves that wrap the stem.
You can propagate dozens of leaves from one large succulent plant, especially if you’re doing some trimming already. Instead of tossing leggy stems, use the leaves from them to create new plants to fill out your pot!
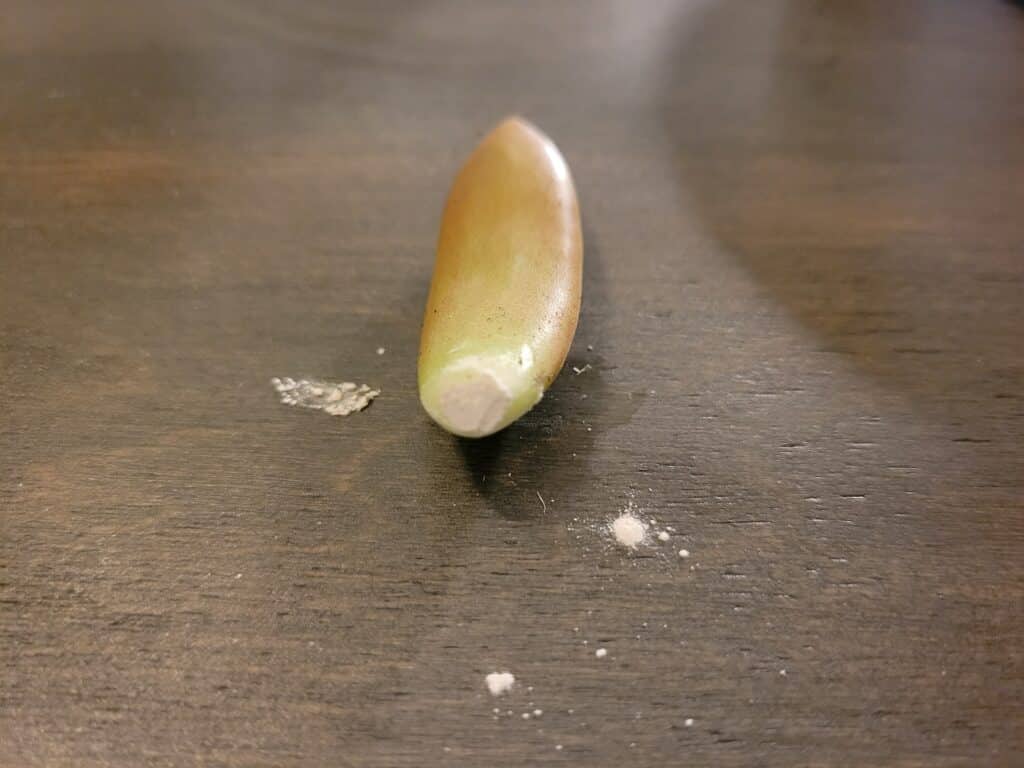
Stem cuttings

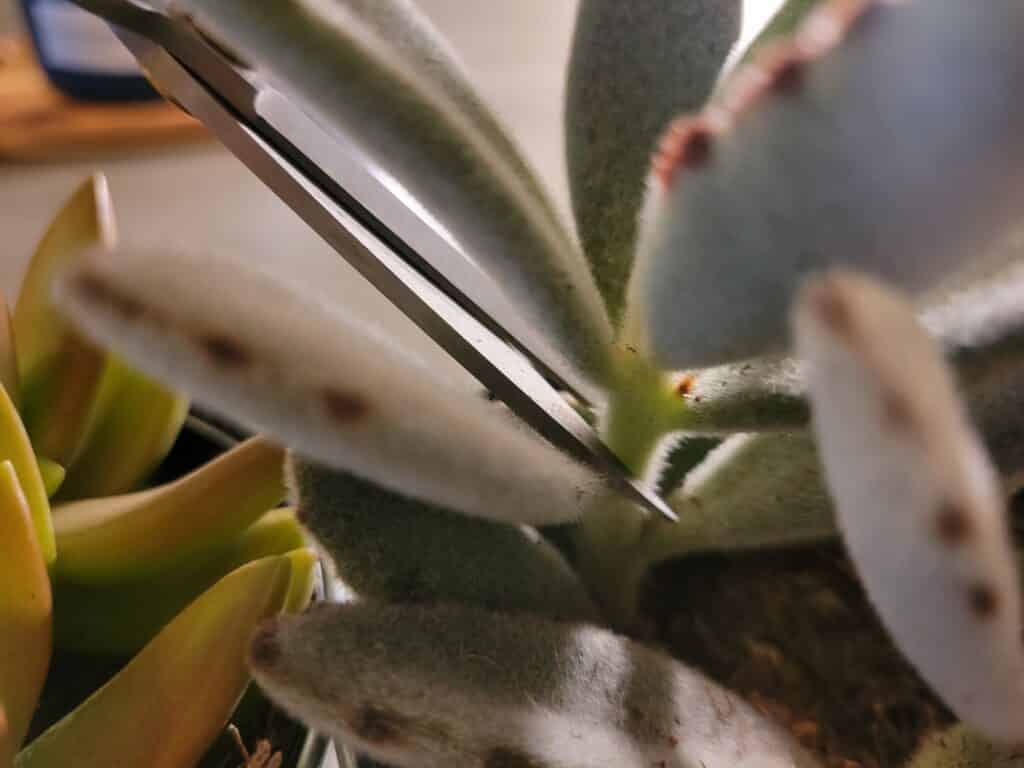
Stem cuttings work best with developed succulent plants that already have some mature stems. Top cuttings, which consist of the top few nodes of a succulent, are ideal for stem cuttings. Trimming the tops of your succulents also promotes new branch growth! It’s a win-win.
However, stem cuttings can come from any part of a stem. A stem cutting is classified as a cutting that contains at least one leaf and the node of the stem where the leaf is attached. In essence, an entire stem could potentially produce lots of cuttings!
There are obvious differences between stem cuttings and other types of cuttings. Stem cuttings, if rooted in soil, start off looking like their own plants. They can be propagated in standard succulent pots, which helps give the illusion of a full plant while roots are still developing.
It can take a bit longer for large stem cuttings to develop roots due to the number of leaves and the length of the stem of a cutting. While the plant is trying to put energy into building a root system, it also has to support itself via photosynthesis.
Root division
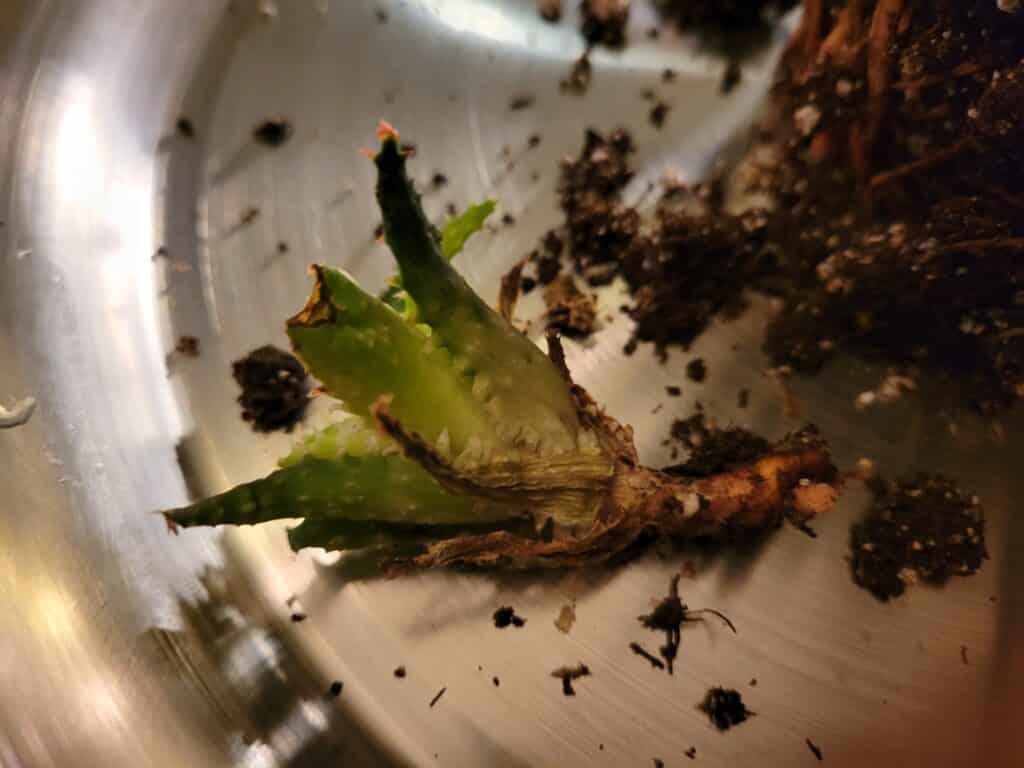
Root division is an entirely different concept than taking cuttings from a succulent plant. Rather than having to grow a new root system from scratch, root divisions start out with either full or partial root systems, the latter of which grows back quickly.
Not all succulents bear “pups”, or clones of themselves. The ones that do will grow them either near the base of the plant or from the stem itself, usually underground or close to it. These pups can then be removed from the original plant and potted by themselves.
A pup should be at least 30% of the size of the original plant before it’s removed, but crowded pups can be removed at any stage in the event that they run out of room. Each pup can be cut or gently pulled from the soil of the original plant. Try to take as many roots as possible that are attached to the pup.
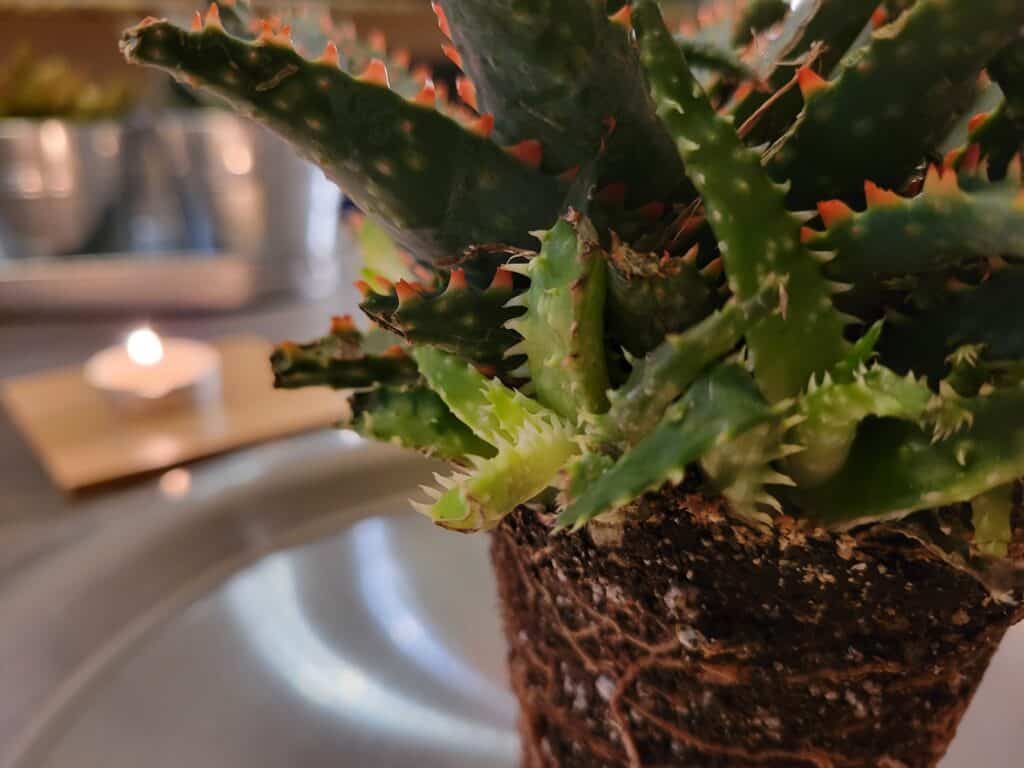
If all you can manage to save is a small length of root, that’s just fine, too! This small piece of root will multiply exponentially over the next couple of weeks. Talk about a ready-made succulent! This is the best way to propagate succulents like aloe, agave, and haworthia.
Materials for Succulent Propagation

Propagating succulents is already fairly easy to do, but it’s a total piece of cake with the right tools on hand. Don’t limit yourself to plant-specific tools; lots of other things you already have laying around can substitute for a tool you might not have. Here’s what to find:
Plant shears
For propagating most houseplants, plant shears are a must. You’ll only need them for stem cuttings and root divisions, since leaf cuttings are made naturally. However, these things are great to have around for regular pruning and maintenance.
If you don’t have any plant shears, consider dedicating a pair of sharp scissors or a razor blade to your plant tool arsenal. Choose something that’s sharp enough to easily cut through tough stems, and that’s easy to clean and disinfect regularly.
Rooting hormone
Perfect for rooting stem and leaf cuttings, rooting hormone helps out a ton in this area. Essentially, cuttings are plants without roots. Since they can’t survive long on their own without a root system to support themselves, they have a close expiration date.
Rooting hormone works by sending a signal to the cells that roots are needed immediately; this signal is relayed to all the cutting’s cells, which then focus on forming new roots. By using rooting hormone, you can speed up the rooting process and reduce the stress of new cuttings.
Succulent or starter soil
The type of soil you use to root succulent cuttings is the difference between success and failure. Using the wrong soil can lead to rotted cuttings, poor root development, and eventually, death. To avoid this, use a succulent soil or seed starting soil for succulent propagation.
Good succulent soil is a mixture of sand, potting soil, and perlite. Check out our DIY Succulent Soil Guide to learn how to mix your own succulent soil, or use only high-quality, ready-mixed succulent soil for your propagation project.
Water container
If you plant to propagate leaf or stem cuttings in water, make sure you have the right water container for the job. Something deep, like a vase, won’t be ideal, because air can’t circulate through to the cuttings and they’ll eventually rot.
Instead, opt for a container that is clear, shallow, and wide enough to accommodate a handful of cuttings. You should have the ability to stand them straight up in the water, whether that consists of leaning them up a certain way or using toothpicks to create a grid for cuttings to stand in.
Trays or shallow pots
If soil propagation is your preferred succulent propagation method, then you will need something to root your cuttings in. Shallow trays and pots work best, since they tend to dry more evenly and won’t hold onto moisture at the bottom like deeper containers do.
Leaf cuttings can be planted in drainage trays, which are the perfect depth to root a wide variety of succulents. So long as there’s enough soil to hold moisture for a couple of days, any depth under about three inches will do.
Propagating Succulents
There are two ways to propagate succulent cuttings that are easy to do in a standard home setting. The first is water propagation, which is used for cuttings that are suspended in or sitting in water. Water propagation is quick, but it can be a little tricky at first.
The second is soil propagation, which is arguably the easiest way to propagate a succulent. This is closest to the natural way succulent plants sometimes propagate, particularly when leaves are knocked onto the ground by animals or weather. If you’re new to propagating, try this way first!
Without further ado, here are the best methods for propagating succulents at home.
Water propagation method

Water propagation can be a little tricky without the right supplies. That’s why it’s important to make sure that the containers you use are ideal for propagating a plant that doesn’t like to be wet. There are a few ways to make common household containers work, though! Here’s how to propagate succulents in water.
Step 1: Gather your materials
The most important step with any propagation project is preparing for it. Before you get started, make sure you have everything you need in one place: your water container with water, shears, rooting hormone, and of course, your succulents.
This is a good time to sanitize any materials you’re using that will come into contact with your cuttings, including your shears and the surface you’re working on. Plant-borne pathogens like bacteria and fungi can tank a cutting in no time.
Step 2: Plan your cuttings
No matter what type of cuttings you’re taking, if you plan on keeping the original plant, you’ll have to exercise some tact in order to make sure that the original plant stays healthy and looks well. That means planning out where you’re taking cuttings in advance.
Choose cuttings that balance out the succulent. For example, if one side of the succulent is more developed than the other, it’s best to take cuttings from the more developed side. You can also take cuttings evenly from each side around the succulent to maintain that balance.
Step 3: Take the cuttings
This step will look different for each cutting type. For leaf cuttings, gently twist each leaf you want away from the succulent’s stem. Stem cuttings will need to be cut just below a node with sharp, clean shears.
Root divisions will be trickier. Unpot the succulent, then find the junction where the pup and the original plant meet. Try to remove the root division without disturbing the surrounding roots too much, and aim to preserve some of the root of the pup.
Step 4: Rooting hormone
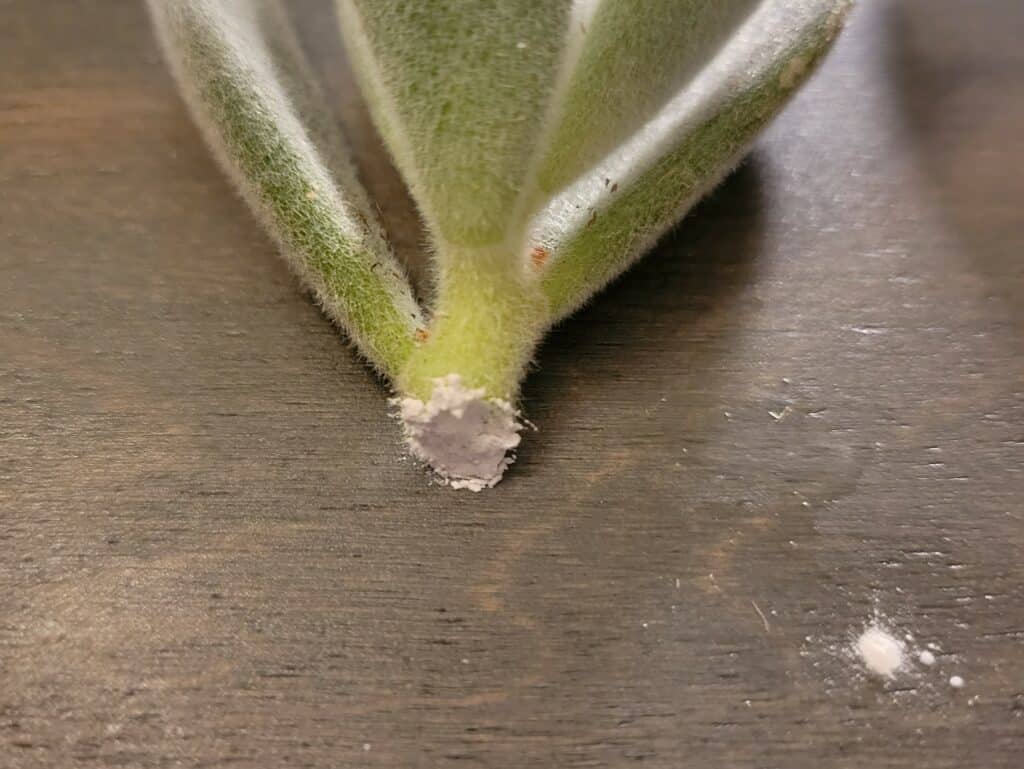
While this step isn’t incredibly necessary for succulents since they’re so easy to propagate, it can help to speed up the rooting process significantly. Applying rooting hormone helps your cuttings realize that they need to start putting out new roots, stat.
It’s easy; to treat succulent cuttings with rooting hormone, simply dip the severed end into the rooting hormone powder or liquid enough to cover the wound. There’s no need to press the powder into the wounds.
Step 5: Into the water
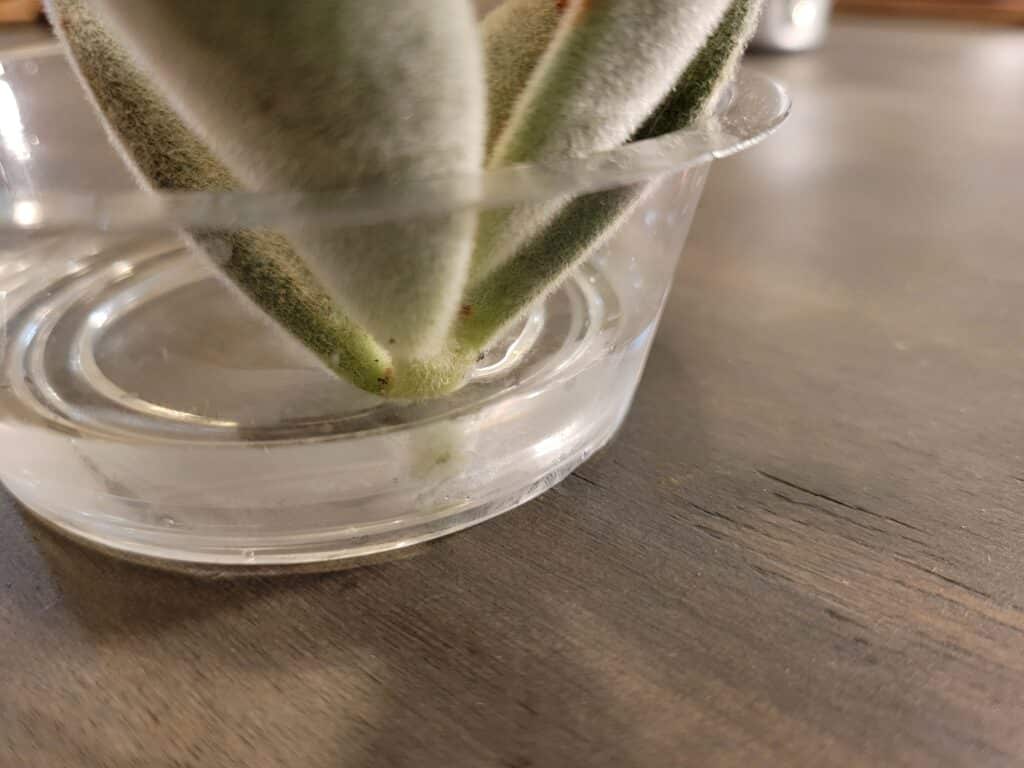
Now that your cuttings are set up for success, it’s time to get them into the water so the rooting process can begin. Shallow water is an absolute must for succulents, since they rot very easily and can’t be saved once the process begins.
Make sure that the water you use is clean. Filtered or bottled water is usually sufficient. Fill your container up about a centimeter of the way full, then arrange your cuttings so that they stand up. You can use other objects to prop them up, like toothpicks.
Step 6: Water maintenance
If you forget to clean the water your succulents are trying to root in, they may not fare so well. That’s why it’s important to change out the water frequently, which also happens to prevent buildup of minerals and chemicals that can become toxic in concentrated amounts.
A common issue with water propagation is algae. Algae can grow in almost any type of water, and will certainly take advantage of your cuttings if it gets the change. Frequently, weekly water changes bring any algae growth to a halt.
Soil propagation method
Soil propagation is generally the preferred method for propagating succulents. This method is much more reminiscent of how succulents can reproduce from damaged foliage in the wild. If an animal walks by and knocks a leaf or two off the succulent, they’ll simply take root where they land.
Step 1: Gather your materials
First and foremost, gather up all of the supplies you’ll need to propagate your succulents in soil. Go through a checklist containing your soil, trays, water, rooting hormone, plant shears, and maybe even some paper towels to clean up any spilled soil.
Before you begin, make sure all your plant-touching supplies and tools are sanitized. This includes your trays or pots, shears, and work surface. Use a basic cleaning solution or rubbing alcohol to kill any lurking plant pathogens.
Step 2: Plan your cuttings
It’s a good idea to just look at your succulents and take stock of them before you go cutting them up. Observe their shape and size, which leaves are mature and which aren’t, and any struggling bits.
Try to take cuttings only from a healthy, happy section of a succulent. Make sure that when you do make your cuttings, your succulent won’t look lopsided or damaged when you’re done by planning for balance.
Step 3: Take the cuttings
Each cutting method will look a little different in this step, but the idea is the same. For leaf cuttings, gently twist your intended leaves away from their stems. They should come away easily. Never force a leaf to break off, as they may not root after such trauma.
For stem cuttings, simply cut at a slight angle just below a node (where leaves meet stem). Root divisions require more work; unpot the plant, choose a pup, and gently remove it from the original plant while saving at least part of the pup’s root.
Step 4: Rooting hormone
Once you finish taking all of your cuttings, you can choose to treat them with rooting hormone or skip this step. However, there is a benefit to rooting hormone; it helps to speed up the rooting process, which is essential for succulent cuttings.
To treat your cuttings, simply dip the cut end into the powder or liquid just enough to cover the wound. There’s no need to let them sit before planting into soil, but it’s a good idea to make sure you cover the entire cut. Only treat the end that’s going into the soil.
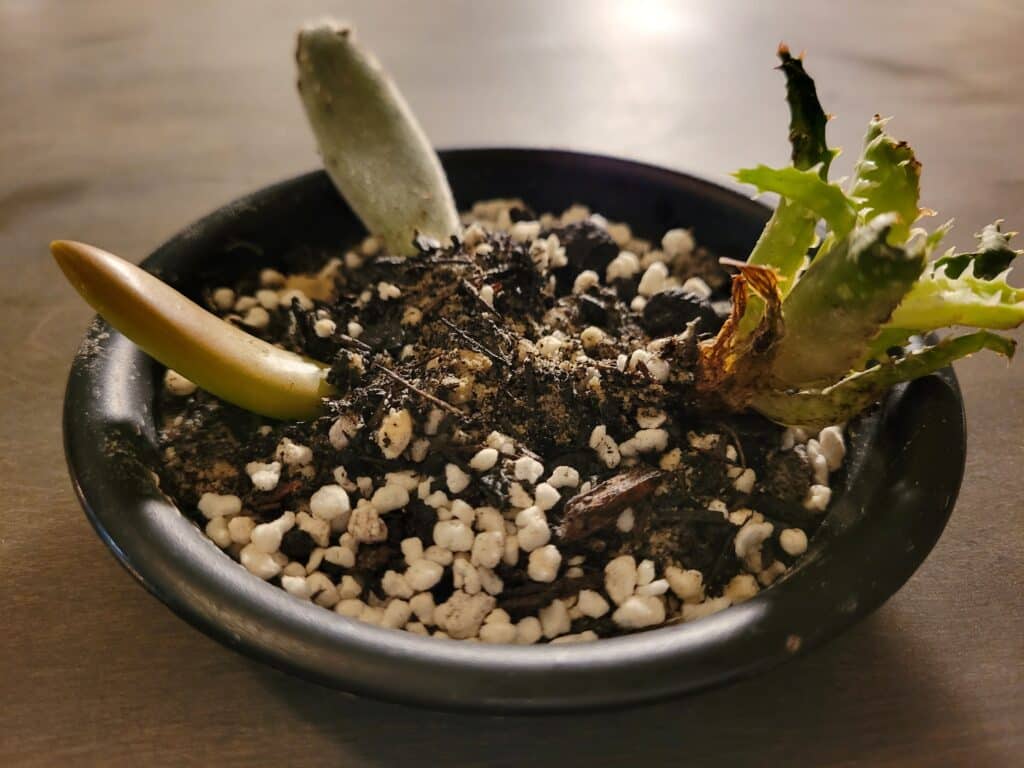
Step 5: Into the soil
Now that your cuttings are treated and ready for planting, prep your soil tray or pots by moistening the soil just enough to hold water, but not so much that it becomes waterlogged. A spray bottle is a great way to add just the right amount of water.
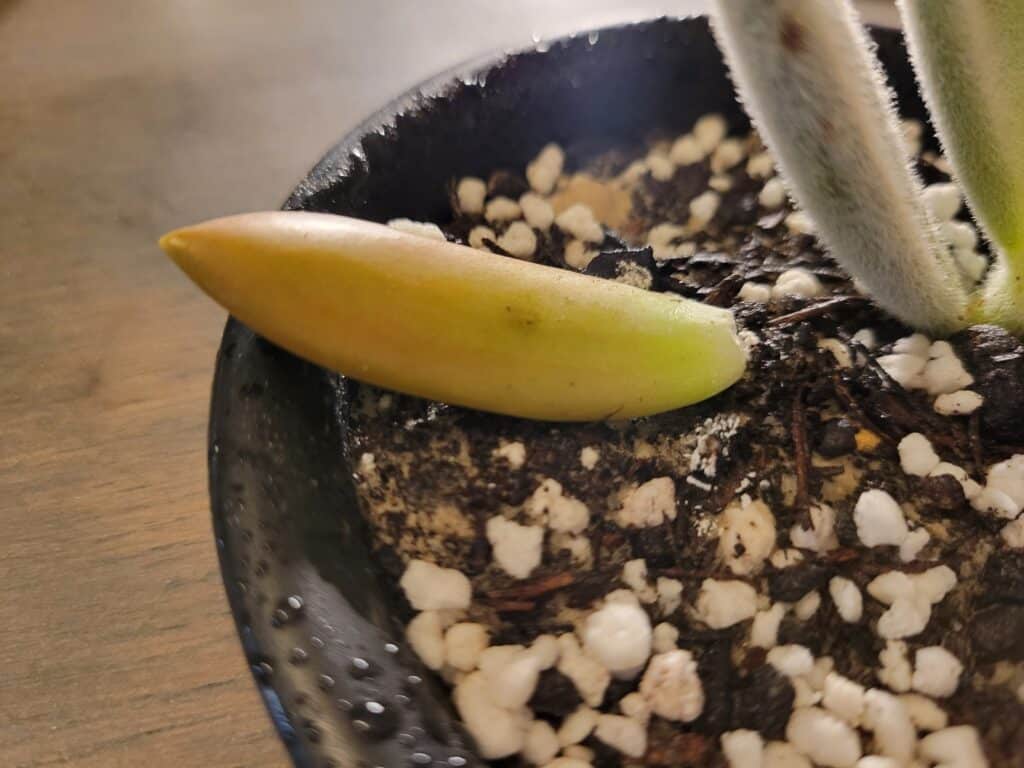
For leaf cuttings, lay them onto the moist soil without pushing them in, then liberally mist them. Stem cuttings can be inserted into the soil up to the first leaf and gently watered in. For root divisions, simply plant them as you would any other succulent; make sure roots are covered with soil.
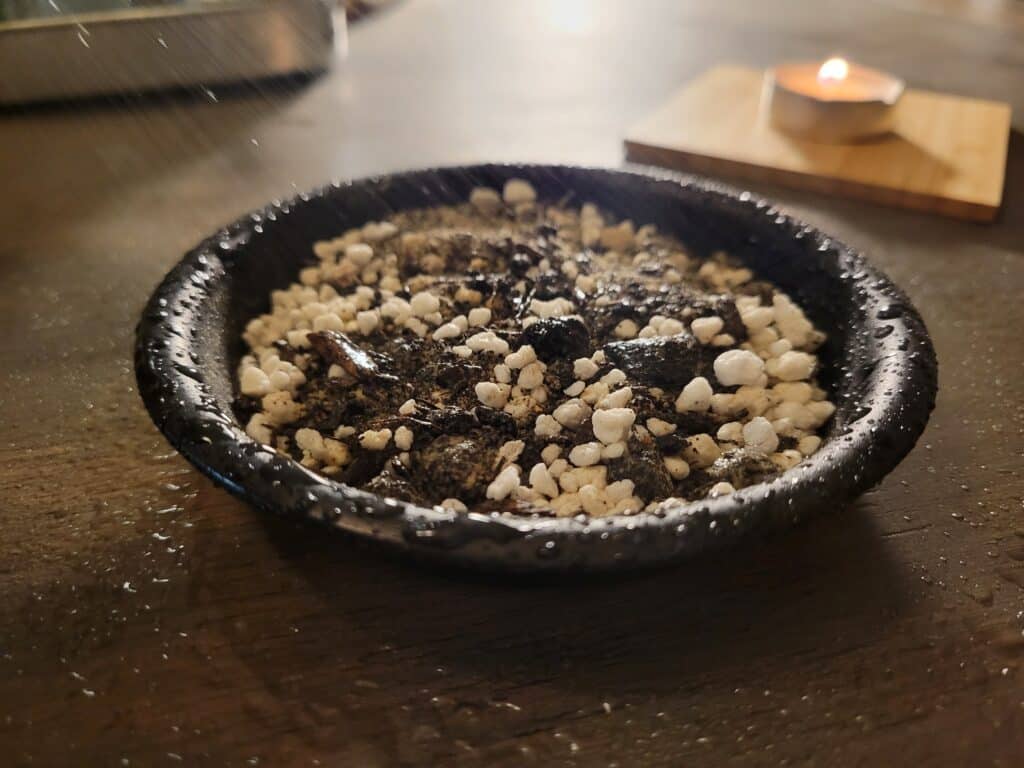
Step 6: Watering regularly
This is likely the trickiest step in propagating succulents. It’s important to pay attention to the soil that cuttings are planted in. Once the soil becomes just dry, it needs to be watered liberally. Succulent cuttings can’t survive long without some moisture, so this should be a priority.
If you happen to forget to water, and your cuttings are becoming wrinkled, do not overwater them to compensate. Start rejuvenating the soil by gently misting every few minutes, then water. Different succulents can handle different levels of neglect in this sensitive stage.
Caring for Succulent Cuttings
Succulent cuttings are fairly easy to care for, so long as they are in the right place and receive enough light and water. We’ll go over some of the basics of caring for succulent cuttings, from water and light to temperature and humidity.
Light
As you likely already know, succulents need lots of sunlight to thrive. The same goes for succulent cuttings. However, direct sunlight may be too much for them to handle, so bright, indirect light is best. Avoid South or East facing window sills.
Water
Succulent cuttings are just as prone to rot as their grown counterparts, so water must be kept to an as-needed basis. Misting is usually a great option for shallow pots and trays, but you can also water gently by using a watering can and slowly letting the water dampen the soil.
Temperature
Most succulents are from hot, arid climates, but we don’t need to worry about making our homes hot enough for them to thrive. Try to keep your succulent cuttings in a place where the temperature stays between 65 and 85 degrees Fahrenheit.
Humidity
As a general rule of thumb, succulent cuttings don’t love high humidity. Their native habitats are usually very dry, so keep them away from moist environments like kitchens and bathrooms. Any humidity levels under about 40 percent will be just fine.
Once your succulent cuttings begin to grow new leaves or stems, they can be planted in their own pots. Use soil formulated for succulents or cacti to pot them, and use smaller pots, no bigger than three inches in diameter for the first repotting. That’s all there is to it!
