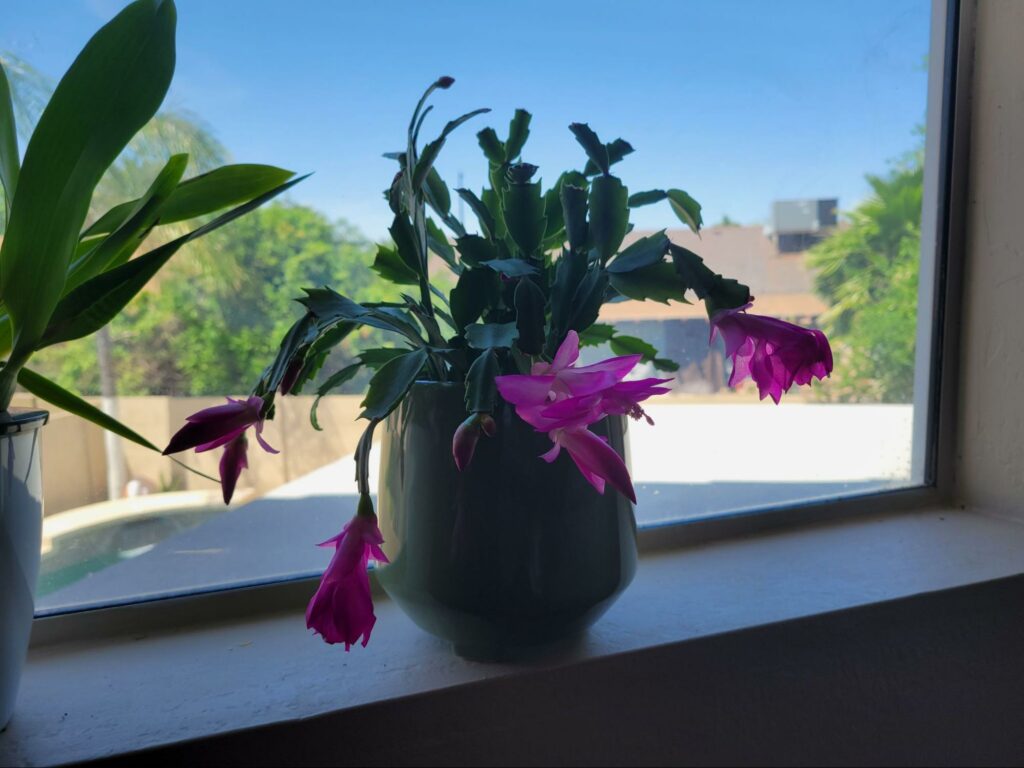
Your Christmas cactus might get some special attention during the holidays, but it also needs some love and care once the exciting blooms are all over and it’s time to return to a dormant state. If you relate to this a little too well, don’t worry- we’re right there with you.
Some species of cacti in this little “holiday cactus” family don’t necessarily bloom for Christmas. Yours might show its colors closer to Thanksgiving, easter, or even the fourth of July. No matter the time of year it blooms, the same process can be followed for all of the members of this cactus family.
The Best Way to Repot a Christmas Cactus
Repotting your Christmas cactus should be done as needed. Since these cute little plants don’t often require a re-pot, it can be easy to forget to check anyway, which leads us to the not-so-fun things like root rot, potbound roots, and of course all the pests that feel welcome in this kind of environment.
But here we are: your Christmas cactus has been in its pot for a long time, and it’s time to give it a new home. Sometimes, you can get away with reusing the same pot, but if the roots are particularly bound, it’s time to size up. Look for a pot with great drainage, but if you use a pot without drainage, well… you’re a brave soul.
That being said, we’re brave, and we’re taking a chance on repotting our Christmas cactus into a pot without drainage. Here’s why: we live in a very hot, very dry climate. Soil tends to become hydrophobic very easily here, so if you live in dry heat, give it a shot. However, if you live somewhere where the sun doesn’t (often) shine and it’s humid, opt for a draining pot.
Speaking of drainage, most cacti like to have a chunkier, well-draining soil mix. If you use regular potting soil from a store, try to find a cacti & succulent mix, or use your regular soil with some leca (expanded clay pellets) or a bit of perlite and charcoal mixed in for a little more airflow. This helps prevent root rot and promotes healthy root growth.
We’ll cover every step of the process for you, from unpotting to repotting and what to do after. Follow along for an easy breezy repotting experience for your Christmas cactus.
Supplies
You’re going to need some things before you jump in. Here’s what we use to re-pot our Christmas cacti when the time comes:
- Chunky soil
- Hydrogen peroxide
- Plant shears or clean razor blade
- New pot if sizing up
- Potting tray or bin (easy clean-up)
- Skewer, pencil, or another pointy object
- Fresh water and a drip tray
Let’s get to it!
Step 1: Unpot the plant
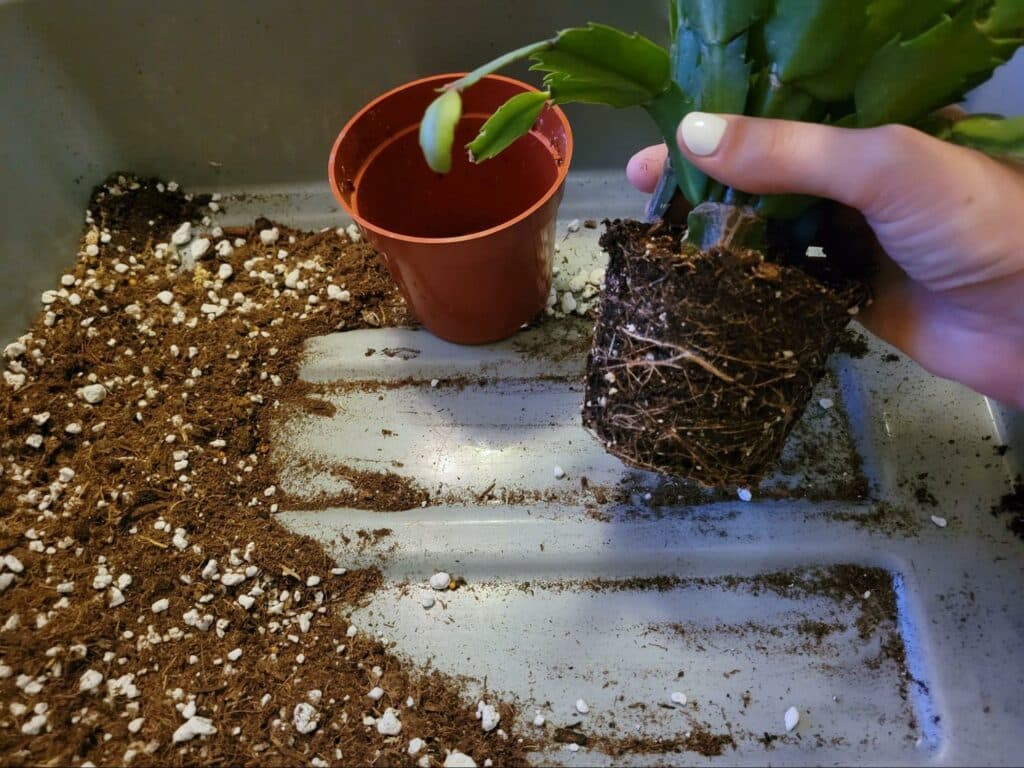
The first and arguably the most important step is to make sure the soil is nice and moist before you unpot your cactus. This not only ensures that the roots will be nice and flexible, but it also helps soil loosen from the roots without causing breakage. For best results, water the plant the day before you re-pot it.
When the time comes, carefully remove the roots from the pot by tipping the plant upside down with one hand at the base of the plant to prevent it from falling. Then, start to break apart the soil carefully with the other hand. If your Christmas cactus is rootbound, it’ll be noticeable; take your skewer and gently begin poking around the larger roots to help break up the cluster. Try to remove as much old soil as possible without completely untangling the roots.
Step 2: Check for root rot and pests
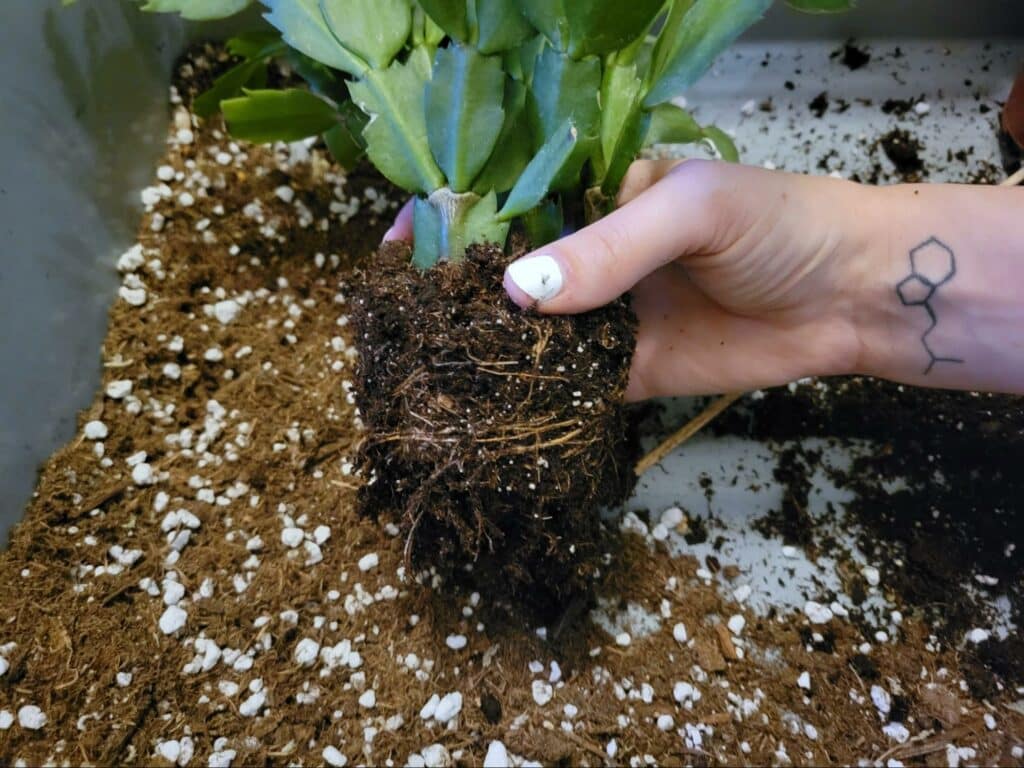
Once the roots are out, check them to make sure you don’t have any unwanted guests in them- look for creepy crawlies, brown, smelly, or otherwise odd-looking roots, and slime. If a root feels mushy, it should be trimmed off using a pair of sharp, clean shears.
A good way to prevent pests and root rot is to use hydrogen peroxide in the roots, which will help kill off anything that’s already growing in there, including fungi, molds, and other gross, soil-lurking plant killers. You can also mix about a teaspoon of dry, ground cinnamon into the fresh soil before you plant your Christmas cactus back into soil.
Step 3: Choose the right pot
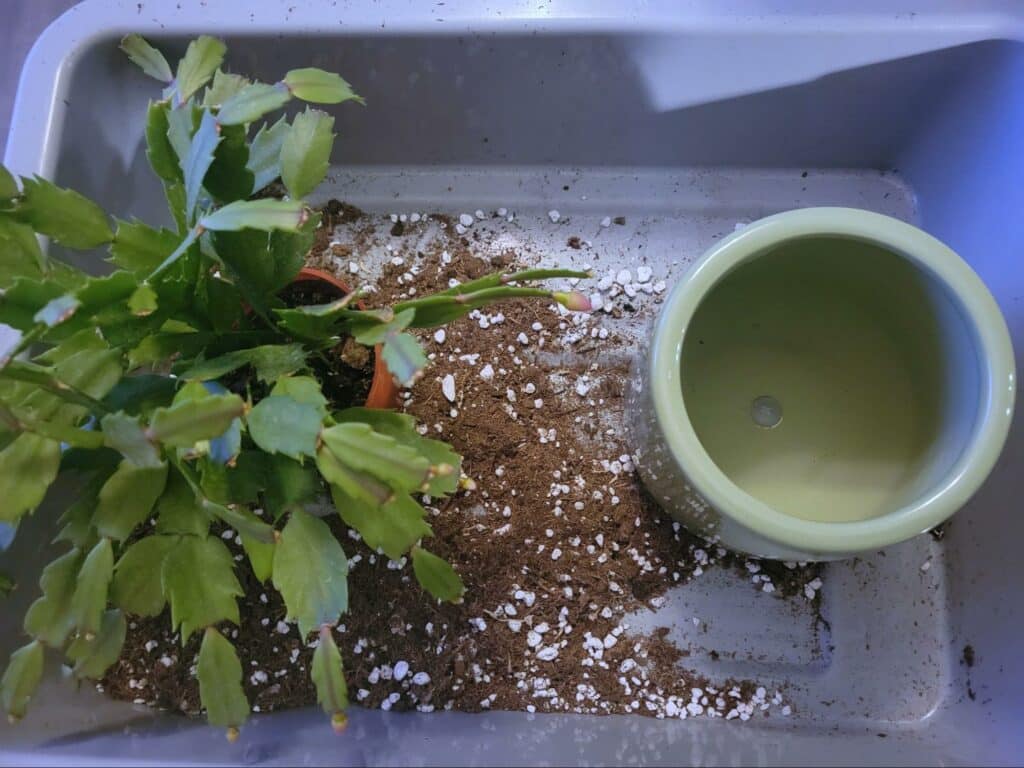
If your Christmas cactus is not rootbound, chances are it doesn’t need to be sized up after a little root tlc. These plants actually prefer a little less soil than your average tropical houseplant, but you should still be able to provide at least an inch of new soil below and around the existing roots. The roots grow slowly, but they do still grow.
However, if the roots are coiled up near the bottom of the root ball itself or are poking through holes at the bottom of the original pot, it’s time to size up. The best rule of thumb for choosing another pot is to go up two inches- that is, two inches larger in diameter than the original pot. It should also be taller to accommodate further root growth.
Step 4: Re-potting
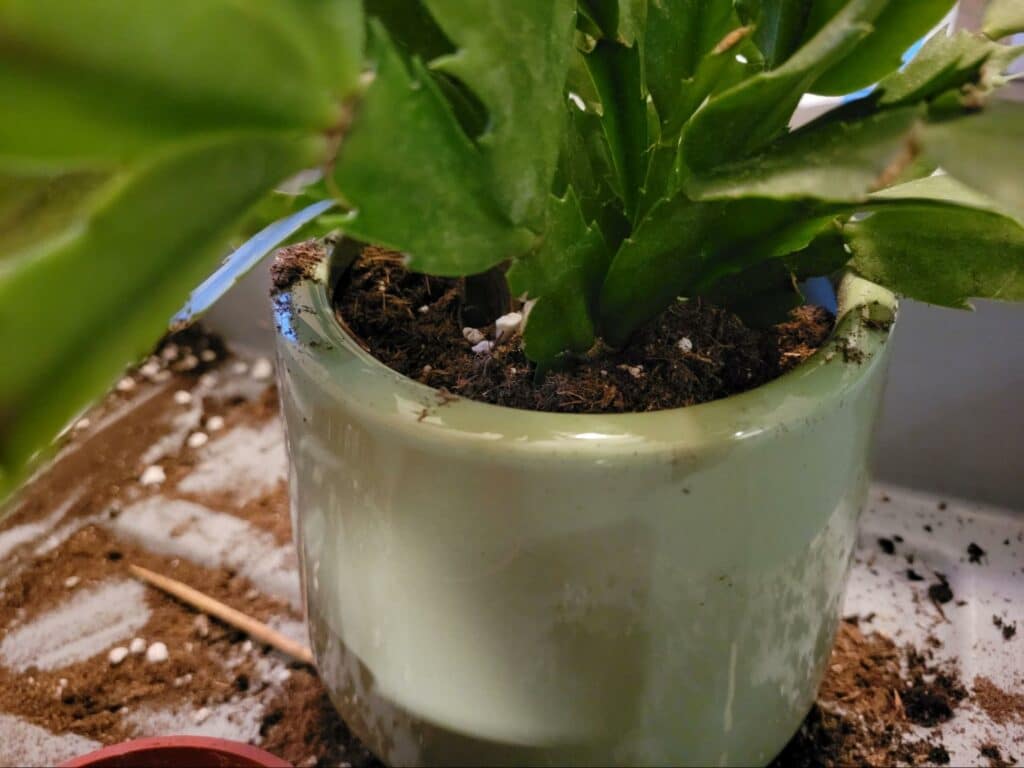
Now that your Christmas cactus feels nice and refreshed, it’s time to plant it into soil to give it a break. First, add a bit of soil to the bottom of the pot; the amount may vary since your plant will likely be a different size than ours, but try to gauge the soil at the bottom based on how tall the plant will be in the pot.
The idea is to let the base of the plant sit about an inch below the rim of the pot, but right above the soil line. Arrange the plant in the pot how you would like it be, then hold it in place as you backfill with the other hand. Once the plant is sturdy in its new soil, you can begin to gently tap the pot until the soil settles between the roots.
Continue this process until the soil is just below the base of the cactus. Then, water it in well– until water is steadily flowing out of the bottom of the pot, and the pot itself feels heavy enough to convince you that it’s thoroughly soaked. If you need more soil on the top, add some, then water that in as well.
How to Care For a Christmas Cactus After a Re-Pot
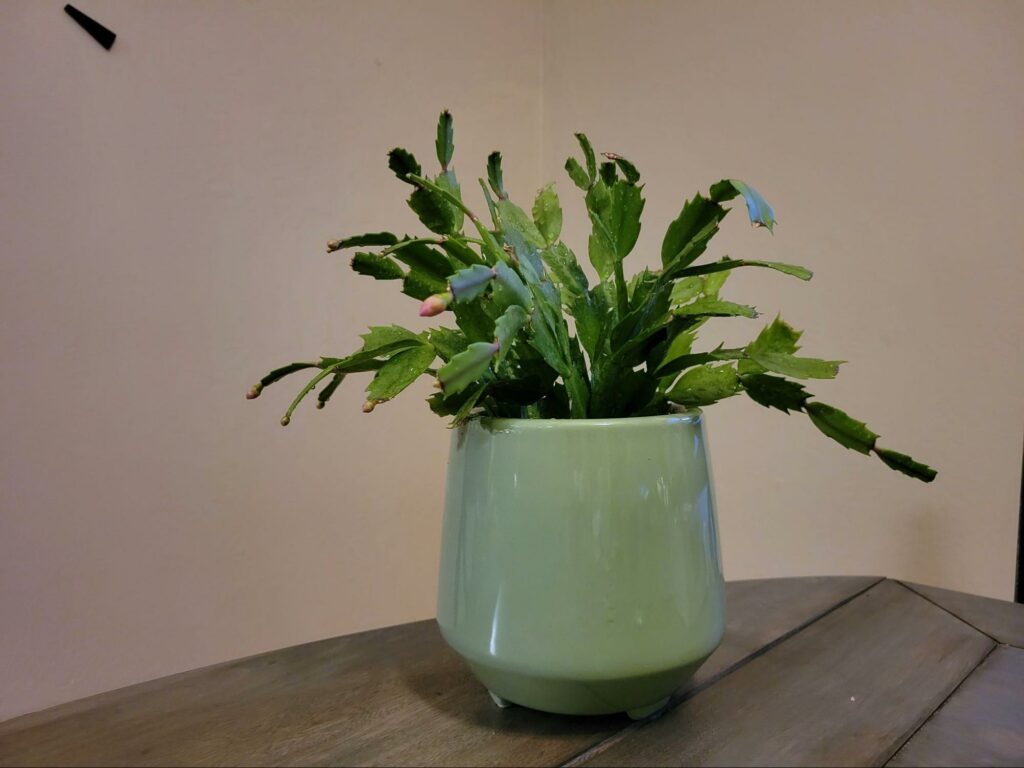
Your Christmas cactus will likely be a little frazzled for a few days following it re-pot. After all, it was essentially yanked from the soil, its roots were trimmed and treated, and it was planted in a whole new soil environment. After the first few days, water again to help the soil further settle around the roots.
These little plants are delightfully good at perking right back up after trauma, so expect yours to put on some new growth in the weeks to come. It may even bloom again if you re-potted right after the last flowers died off.
If you used a soil mix that doesn’t contain any nutrients, such as a porous cactus mix, it may be wise to add a weak cactus fertilizer a week or so after re-potting. Once the roots are settled, they can take in these nutrients and begin to build a heftier, healthier set of roots. The better the roots, the more blooms you’ll get.
Be sure to allow the soil to dry out at least halfway before watering again after the two-week point to prevent root rot. Holiday cacti do not like wet feet, so be sure to remove any excess water that’s drained out from watering. We like to water ours in the sink, and give it a little shower to remove dust from time to time!