
A less common growing medium for general houseplant use, the versatility of clay pebbles may surprise you! These little guys are called LECA to shorten their true name: lightweight expanded clay aggregate.
Interestingly, clay pebbles are made by applying a high-temperature heat to natural clay, which expands just like popcorn into convenient, pH-neutral clay pebbles. Most LECA is used in hydroponic growing and gardening, but it’s super useful to use for your houseplants, too!
The best thing about clay pebbles is that they don’t break down, rot, or harbor bacteria and fungi like soil does. In fact, if you have issues with soil like fungus gnats, powdery mildew on the soil surface or poor drainage, clay pebbles may be a better option for you.
While they do cost a bit more than traditional soil, you’ll find that they last much longer and promote healthier roots and plant growth. We’ll dive into a few of the most common and useful ways to use clay pebbles for your houseplants.
Clay Pebbles As a Growing Medium
For those who want to nix soil altogether, this is the easiest way to do it! You can replace your soil with clay pebbles throughout the entire pot in much the same way as you would repot your plant. Here’s how to do it step by step!
Repotting into Clay Pebbles
Repotting your plant from soil into clay pebbles is easy and quick! Be sure to soak your clay pebbles in water for at least 12 consecutive hours before using them to pot your plants, so they can absorb enough moisture to support the shocked roots.
Step 1: Gather your materials
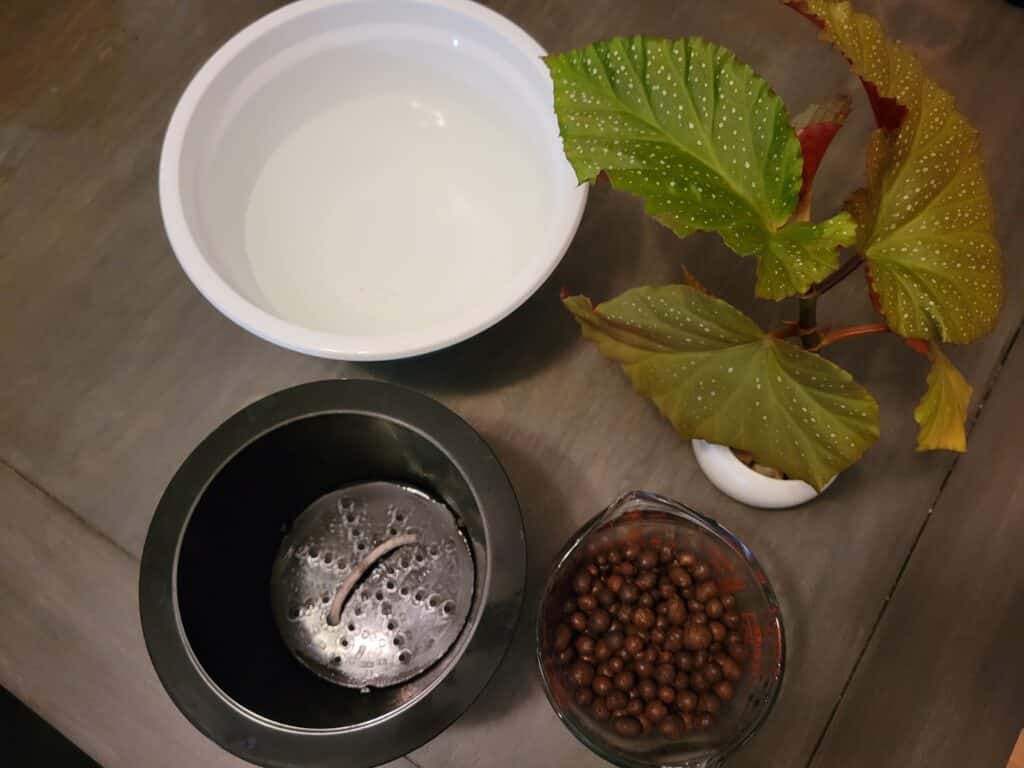
First, make sure you have all of your materials in one place. You’ll need a container to pot your plant into, a bowl of water to soften the soil, and a container to hold your soaking clay pebbles. It helps to have some shears on hand to trim away bad roots, if necessary.
Step 2: Soak the clay pebbles

It’s important to soak your LECA before you use it so that it has the chance to absorb moisture for the first time. This initial soak is a very important step, especially since your newly potted plants will take some time to adjust to their new medium.
Step 3: Unpot your plant
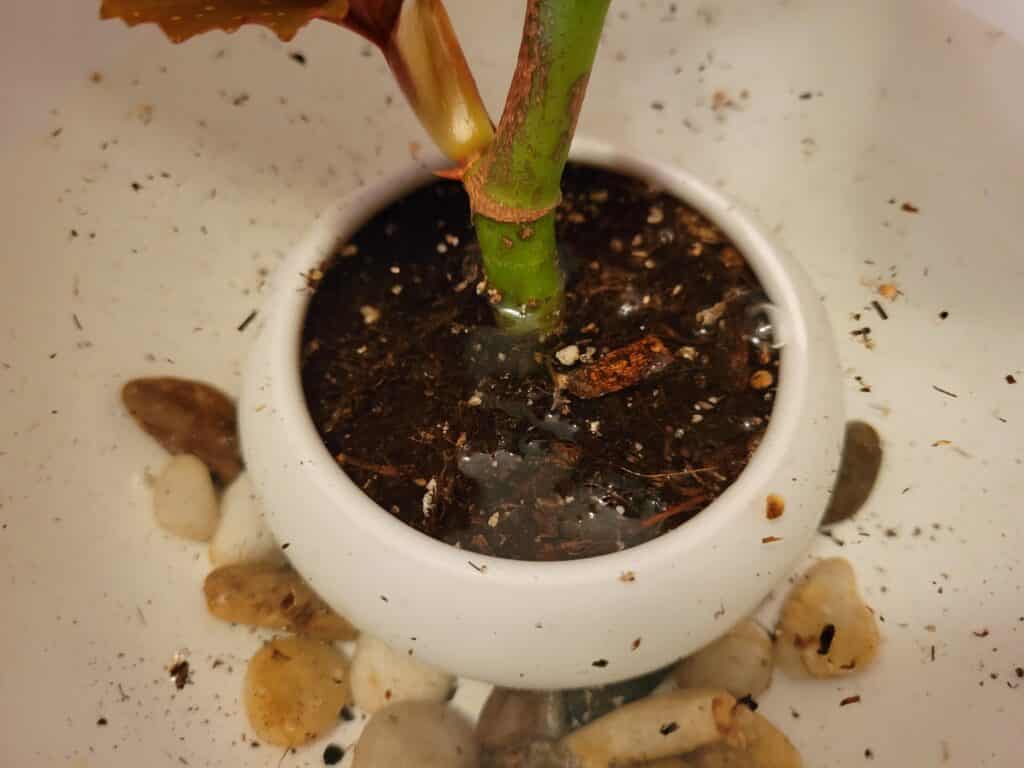
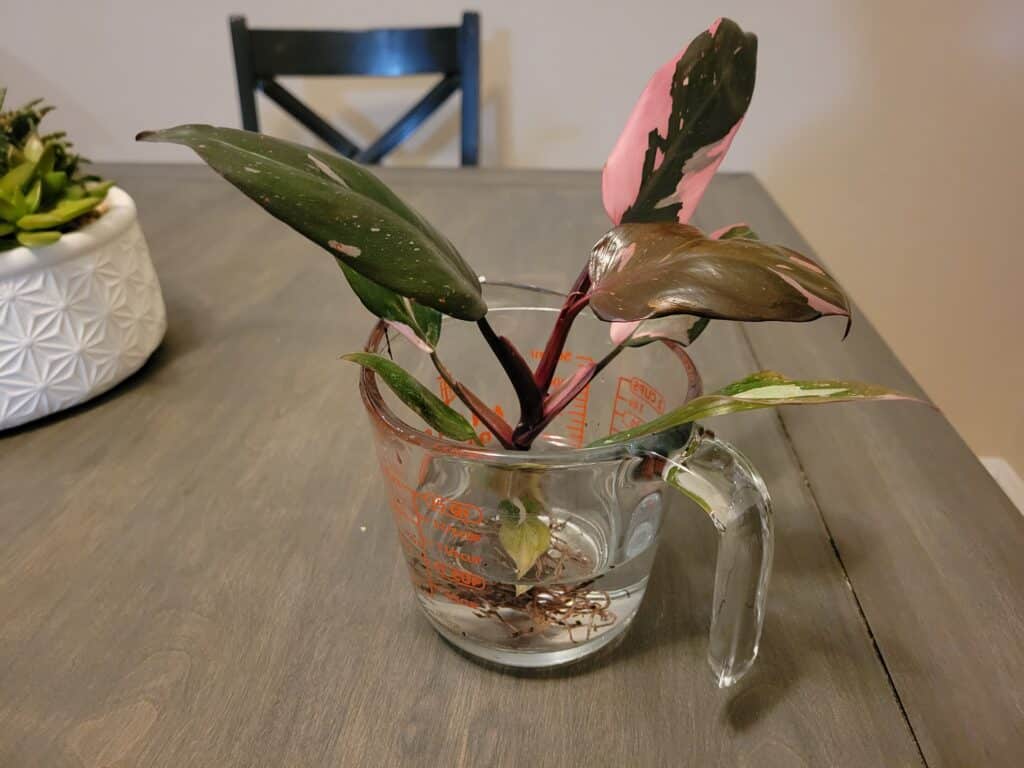
Unpotting the plant is the easy part; you’ll need to remove all traces of soil that you can from the roots. It helps to soak the roots, pot and all, in a bowl of water before you try to wash the soil away from the roots; this process softens the soil and makes it easier to rinse off.
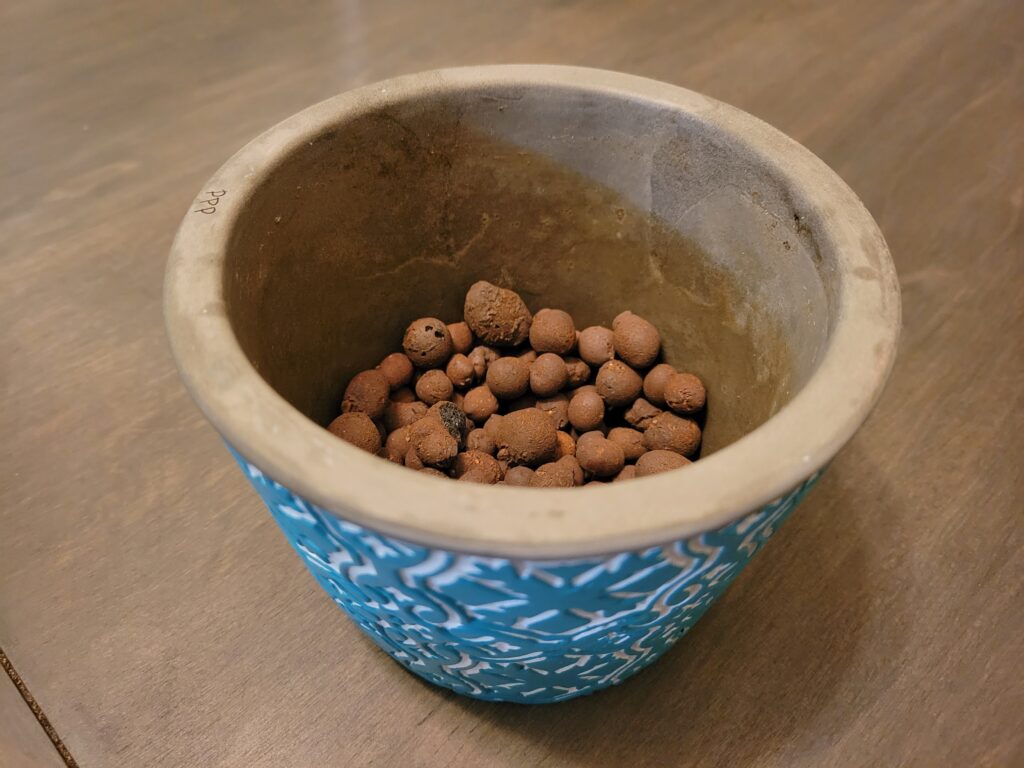
Step 4: Add clay pebbles to the pot
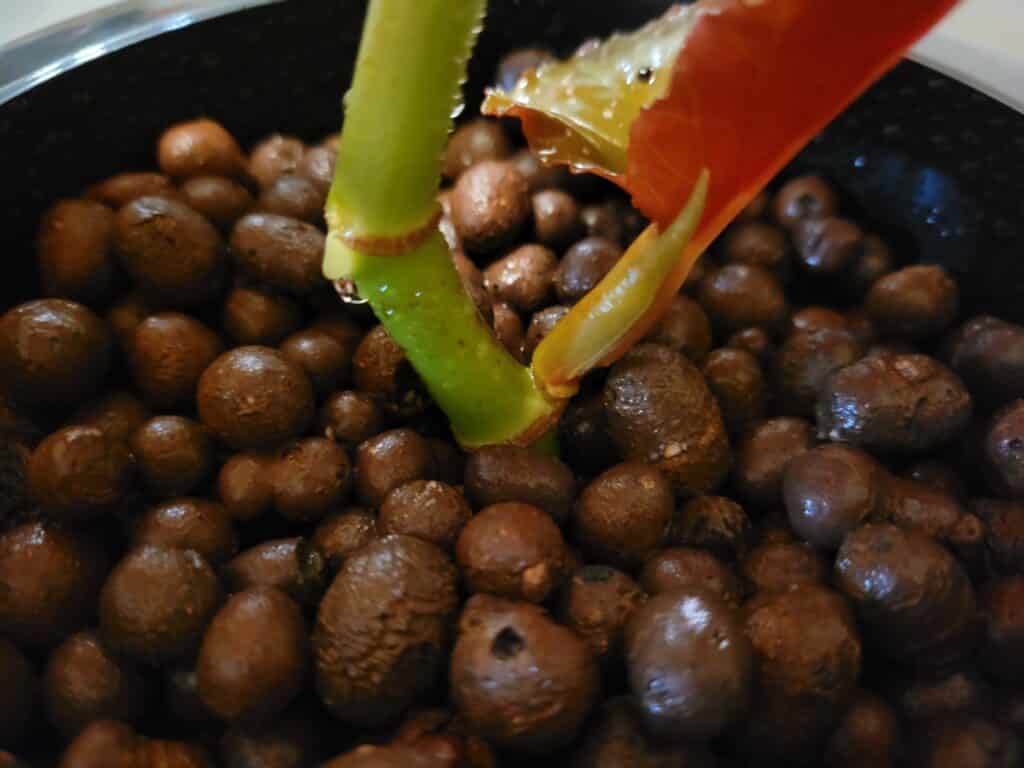
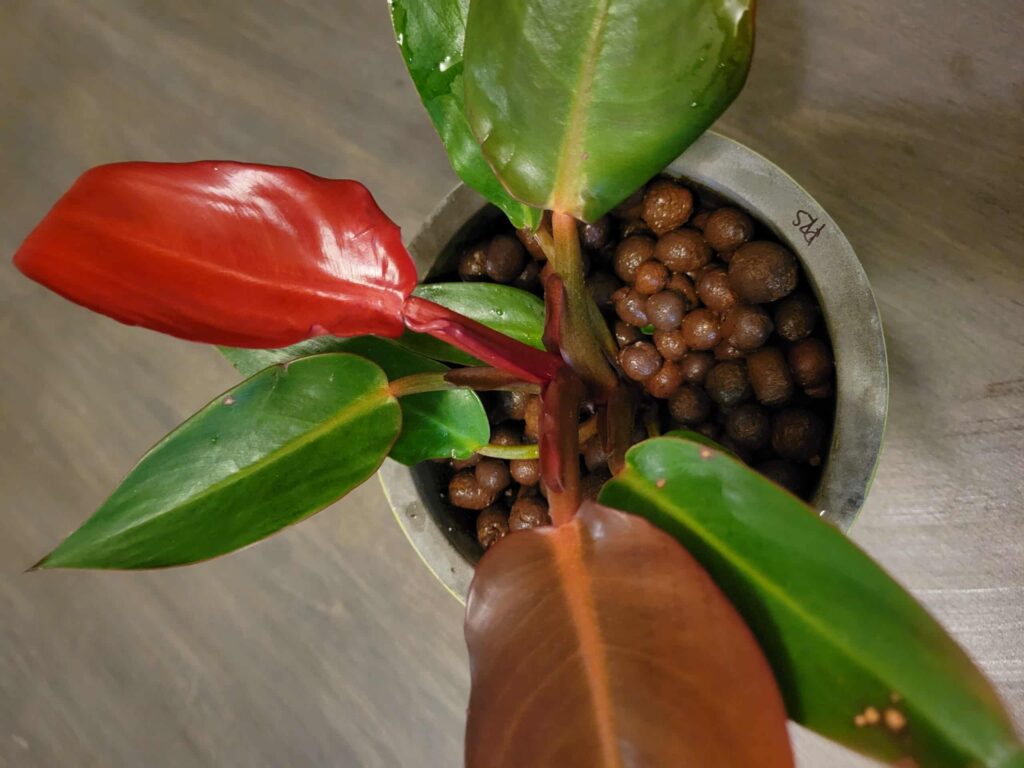
Place your plant’s rinsed roots into a glass of water so they don’t dry out. Then, fill the new pot about ⅓ to ½ of the way with LECA. Arrange your plant so that it stands up well and is centered. Fill the pot near to the top with more clay pebbles and water thoroughly.
Since clay pebbles don’t contain any fertilizers or nutrients, you’ll need to use a liquid hydroponic fertilizer for your plants; powders or pellets won’t disintegrate in clay pebbles, and they’ll eventually burn your plant’s roots.
If you use clay pebbles to pot your plants, be ready to water them more frequently so that the clay pebbles can remain moist enough to provide that moisture to the plant’s roots. Using a drip irrigation or mist irrigation system is ideal, but soaking is the best way to water your plants in this medium.
Clay Pebbles As a Drainage Media
Some folks prefer to only use clay pebbles as a drainage layer in conjunction with soil, which also works well. You can use them as a base layer in terrariums, non-draining pots, and floral arrangements. Here’s how to use them in the bottom of your pots.
Step 1: Gather your materials
First, grab everything you need to get the job done from start to finish. Make sure you have your new pot, clay pebbles, new soil and, of course, your plant. It also helps to have a bowl of water nearby to help soak the old soil off of the roots.
Step 2: Unpot your plant
Since it’s unnecessary to soak your pebbles for this application, you can skip this step! Now, unpot your plant and gently rinse the old soil away from the roots. Doing so helps to prevent root rot from old soil clinging on, and it helps to leave any soil pests and pathogens behind.
Step 3: Toss in the pebbles
Once you’ve removed most of the soil from the roots, place your plant in some water until it’s time to plant. Then, fill the new pot about one third of the way full with rinsed clay pebbles. You can choose to add a layer of mesh or cheesecloth between the pebbles and soil to keep the soil up where it belongs, but this isn’t necessary.
Step 4: Finish potting
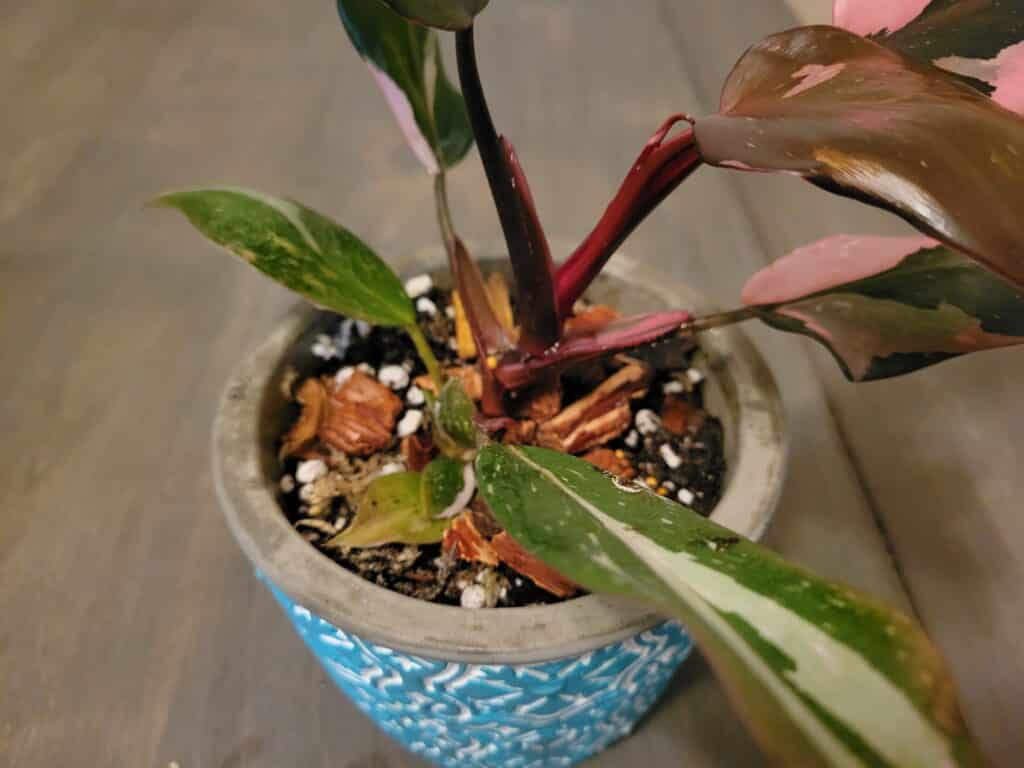
From here, you can finish potting as you would any other way; place the plant upright into the pot so the roots will be under the soil line, and fill in the surrounding areas with soil. Water the new soil thoroughly if your pot has drainage.
If your pot doesn’t have any drainage holes, you can simply water with enough water to cover the clay pebbles at the bottom of the pot. It can be tricky to get an exact measurement, but use your best judgment to decide about how much water you can use at a time.
Make sure that you never overwater; while clay will help mitigate some of the excess, it’s still sitting in the soil above and causing all sorts of problems. It helps to use a moisture meter or even a popsicle stick to determine where the water line is in the pot.
These clay pebbles can be used over and over again; when it’s time to repot, simply take them out and give them a good rinse, then use them the same way you did before! You can also mix a few pebbles into your soil to add some aeration for aroid and epiphytic plants.
The possibilities are endless with clay pebbles. They can be used for both indoor and outdoor hydroponic gardening, make a great soil topper, and look much better than traditional soil. The best part is that they never wear out!

Hi Teri, my name is Marilyn I wanted to know if it’s ok to transplant my pink princess plant to clay balls?
Hi Marilyn, I’d recommend checking out the Philodendron repotting guide that I just published!